
And we finally come to the northern outpost of the Blackpool Tramway at Fleetwood Ferry as we come to the end of this series of “Stop by Stop”.
The tram has departed from Victoria Street and continues along North Albert Street with housing and shops on either side of us as the journey nears the end. As we come to the junction with Pharos Street we see the tracks coming in from the right of the single-line loop line and we are then on single-track ourselves as we carry on along North Albert Street with Fleetwood Hospital on our left. There is then just one further turn as we curve into Bold Street and arrive at the single-platform terminus of Fleetwood Ferry. There’s a shelter here with timetable information etc. whilst the heritage stop is just before the LRT platform. We also have a substation here along with a toilet block for that all important break after you’ve travelled the 11 miles from Starr Gate! Bus stops are provided alongside for interchange between the two transport modes as well. Whilst this is the last stop its not the end of the line as trams don’t reverse here but upon departure they turn onto Fleetwood Esplanade, passing a loop line for resting trams (located where the traditional tramway loading stop used to be) and then its another tight curve right into Pharos Street. Here we pass the old stop shelter and a heritage tram stop before we come to the junction with North Albert Street and turn onto that road as we head back south to Starr Gate and do the whole thing in reverse!
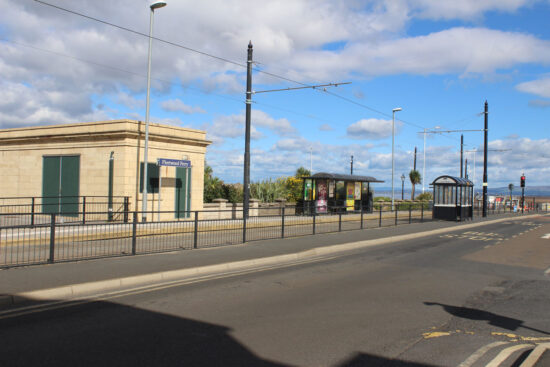
Looking across at Fleetwood Ferry tramstop. The line from North Albert Street comes in from the left, Fleetwood seafront is ahead of us and trams turn to the right at the end of this road on their return journey.
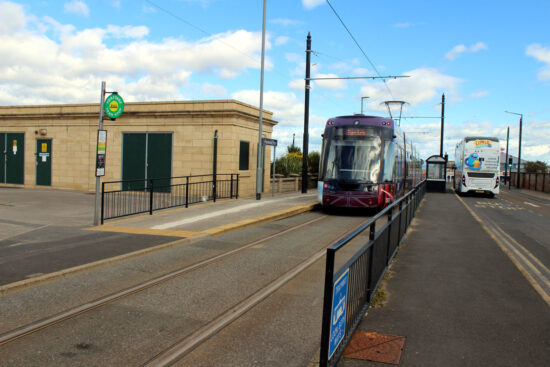
The proximity of the heritage stop in comparison to the LRT stop is seen here as 001 stands at the stop waiting to depart back to Starr Gate. A bus also stands in the adjacent bus stop.
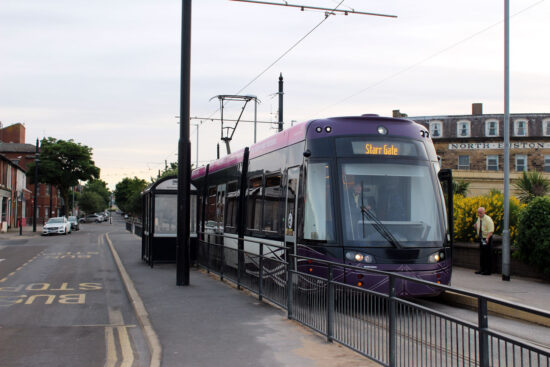
The North Euston Hotel is seen back right as we see 009 standing at the stop before departure. (All Photographs by Gareth Prior)