Manx Electric Railway 34+52
Manx Electric Railway 34+52
Douglas Bay Horse Tramway 21, 12 & 27
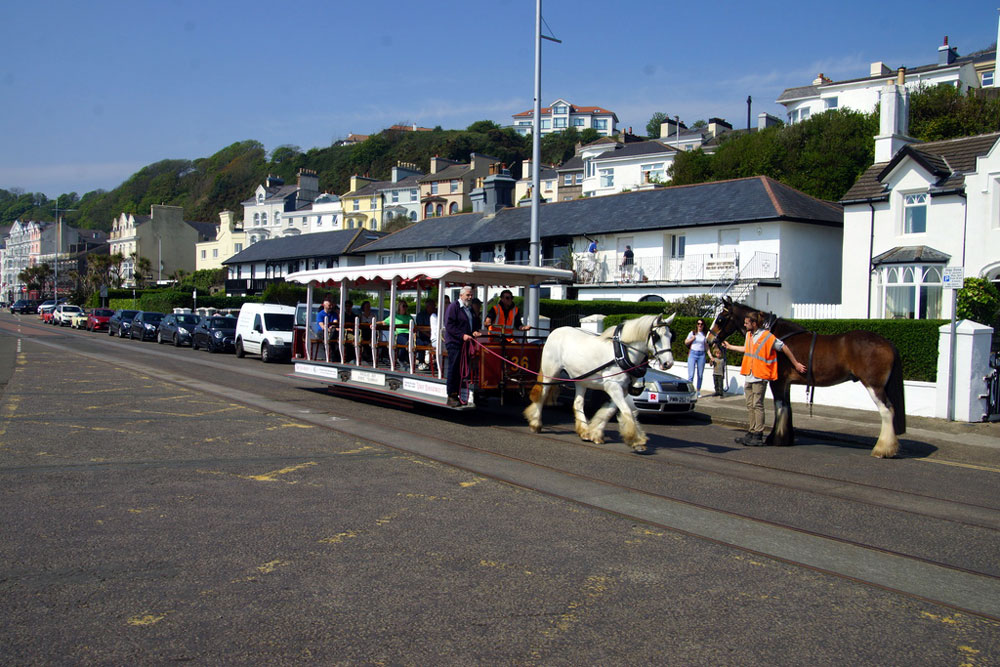
Douglas Bay Horse Tramway 36
| Home > Photos Index > Isle of Man - May 2025 Part 2 |
| Isle of Man - May 2025 Part 2 |
|
We return to the Isle of Man for a further selection of images taken during a visit in April and May 2025. Having already seen a general selection of photos from April in part one this selection concentrates much more on two photo charters which took place on the Manx Electric Railway in the first few days of May.
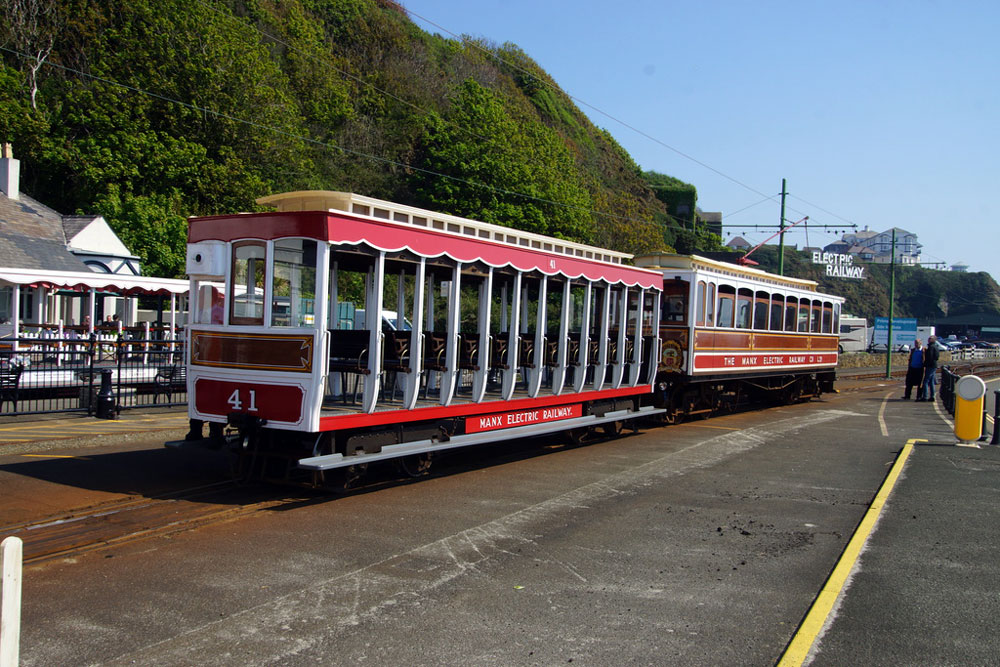
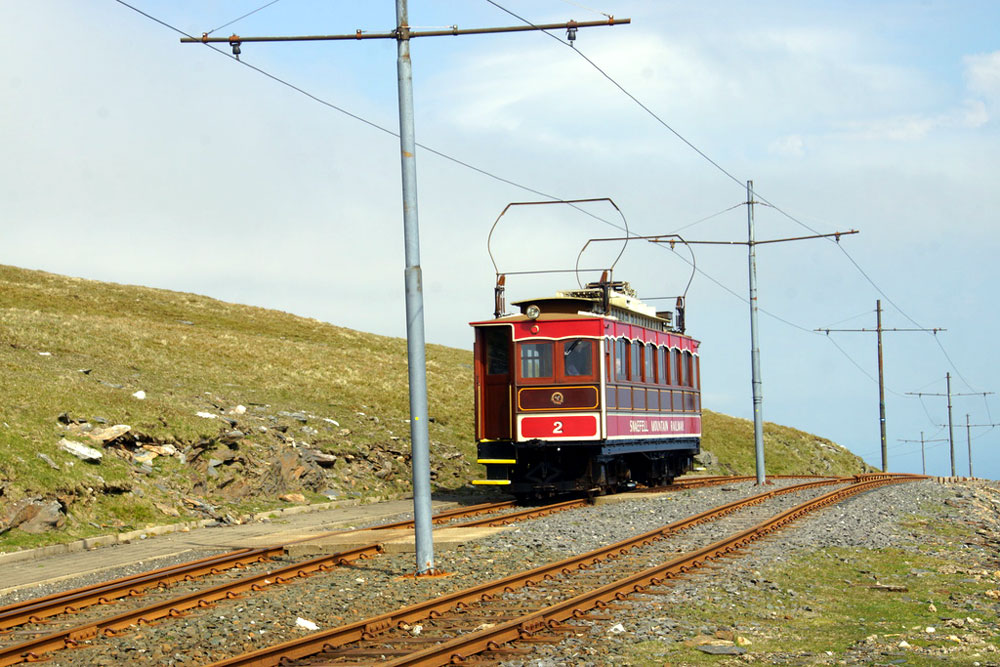
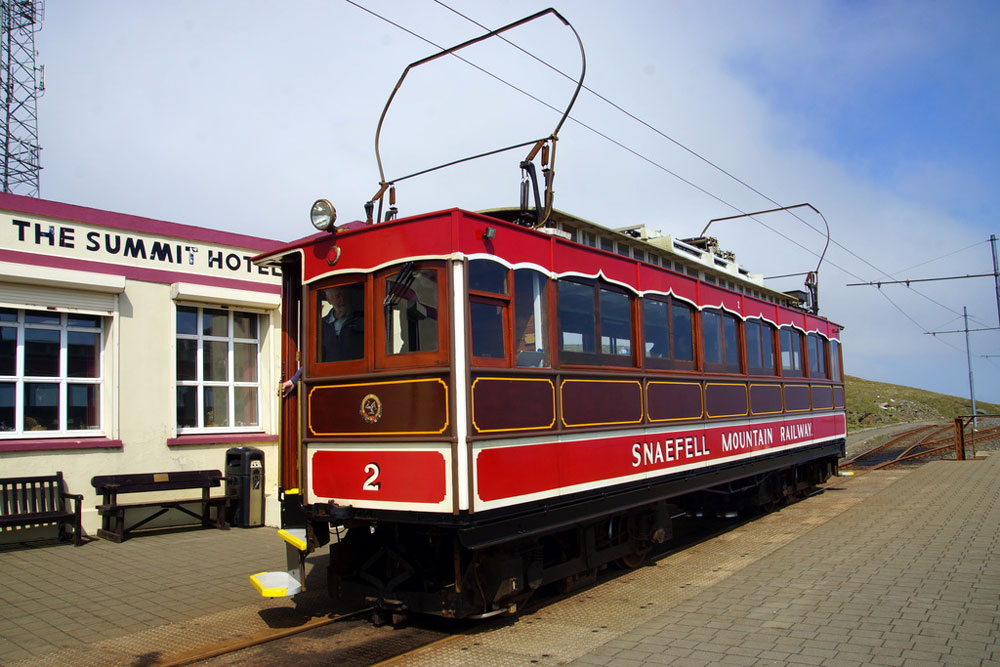
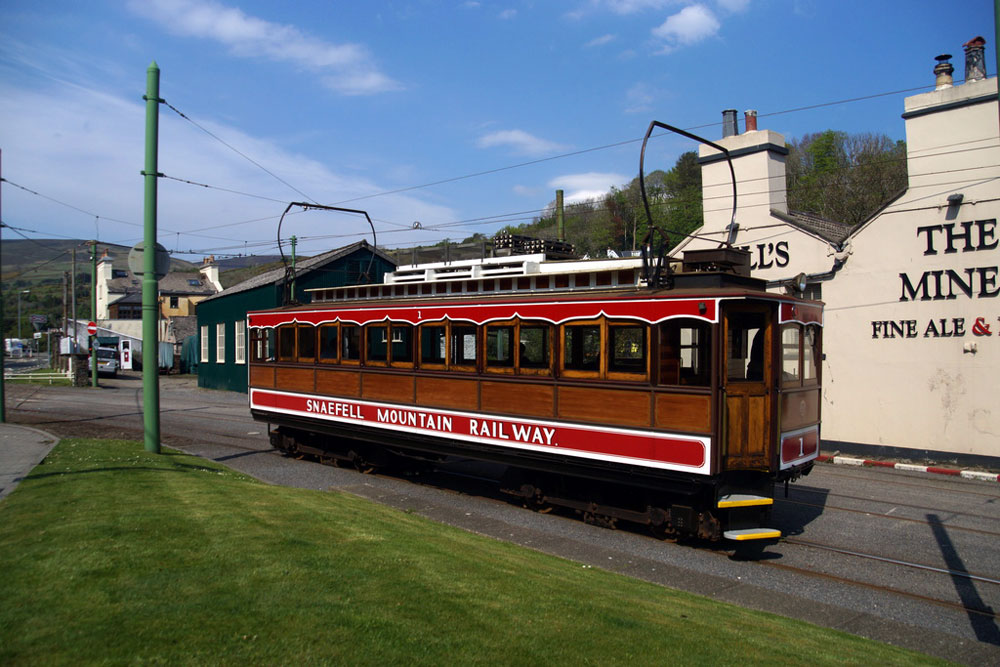
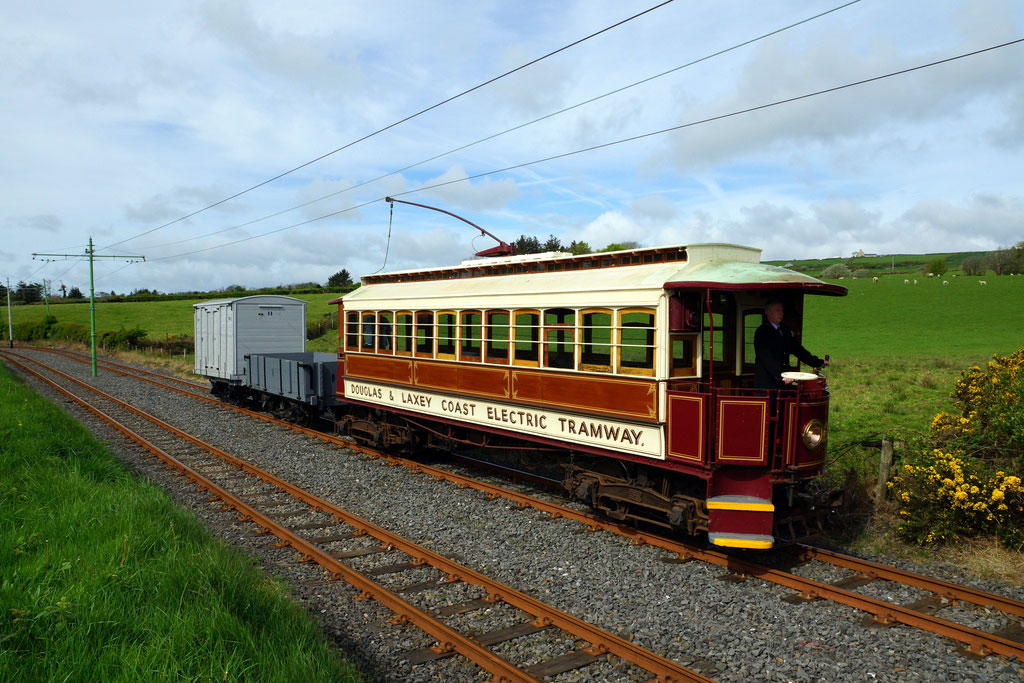
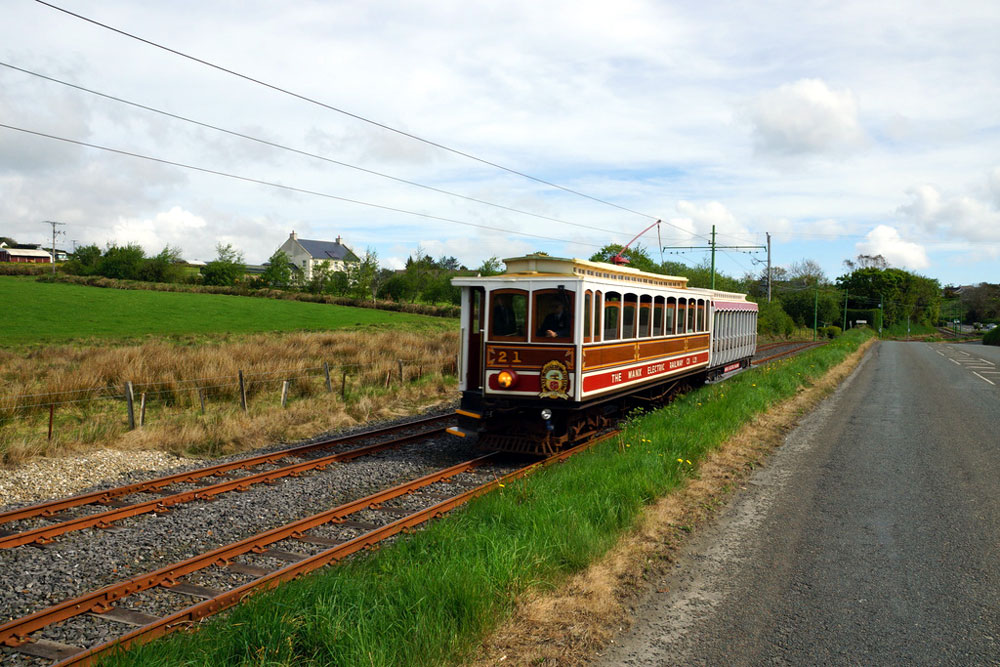
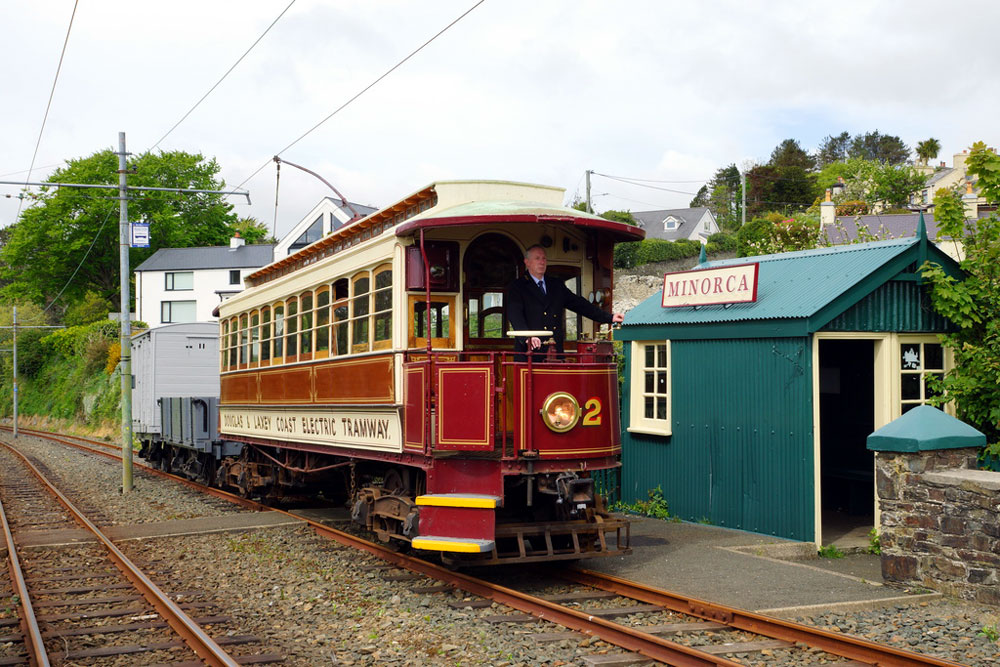
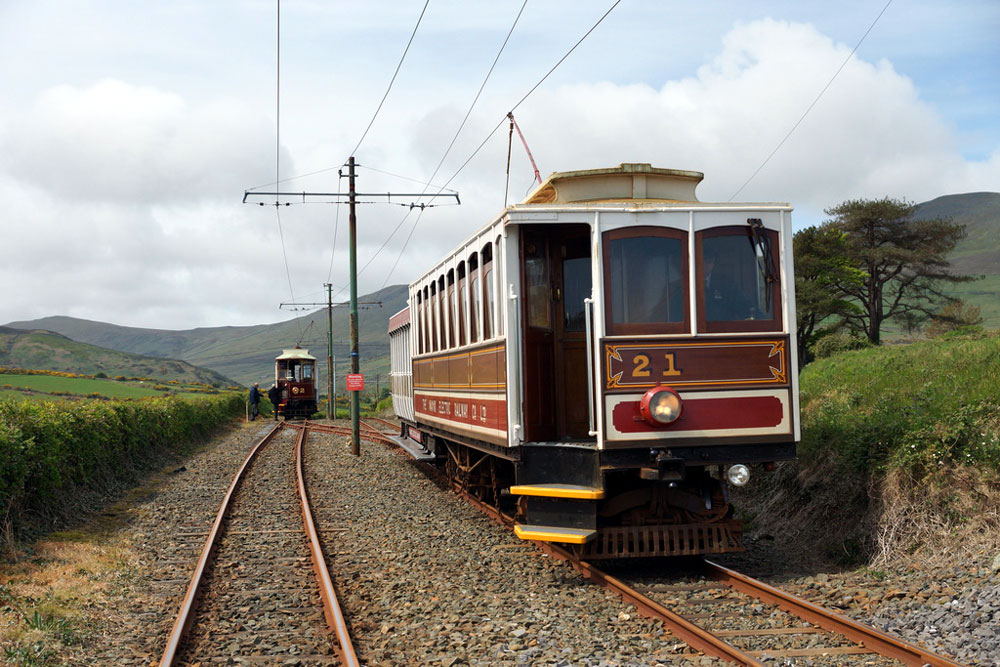
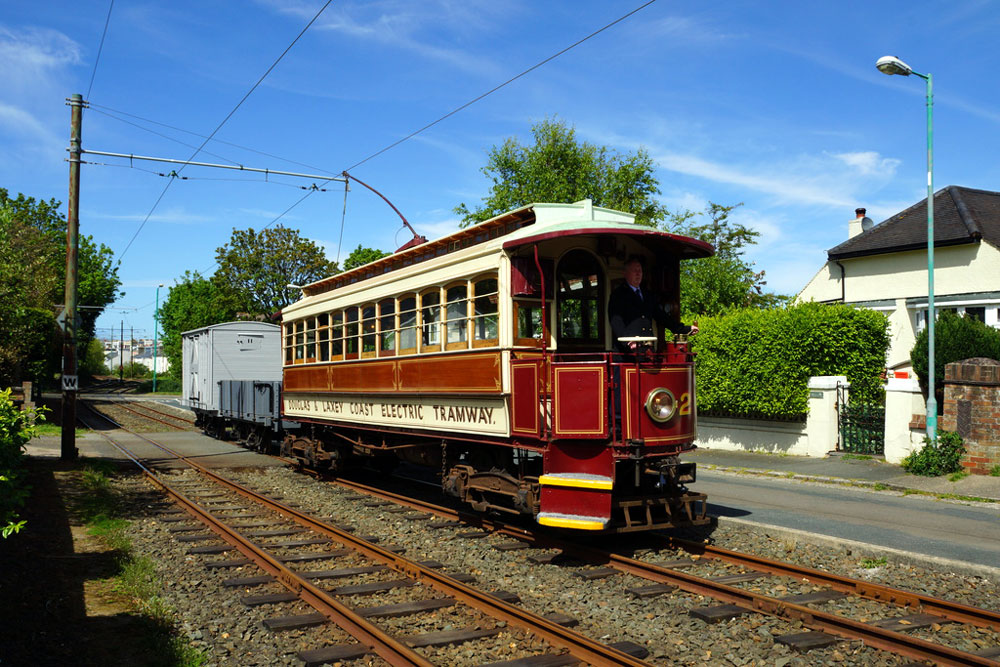
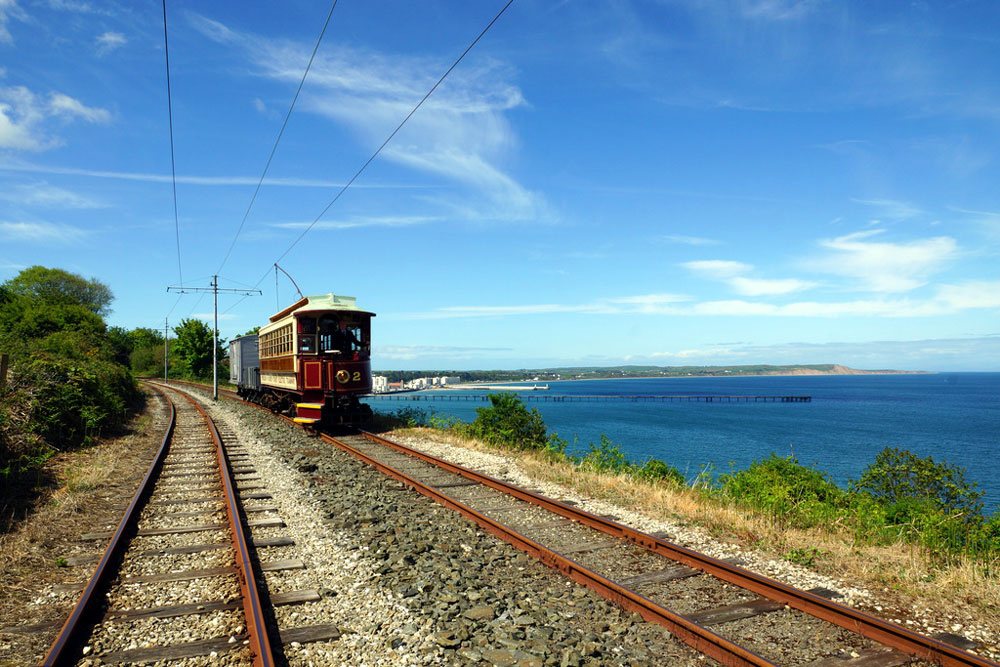
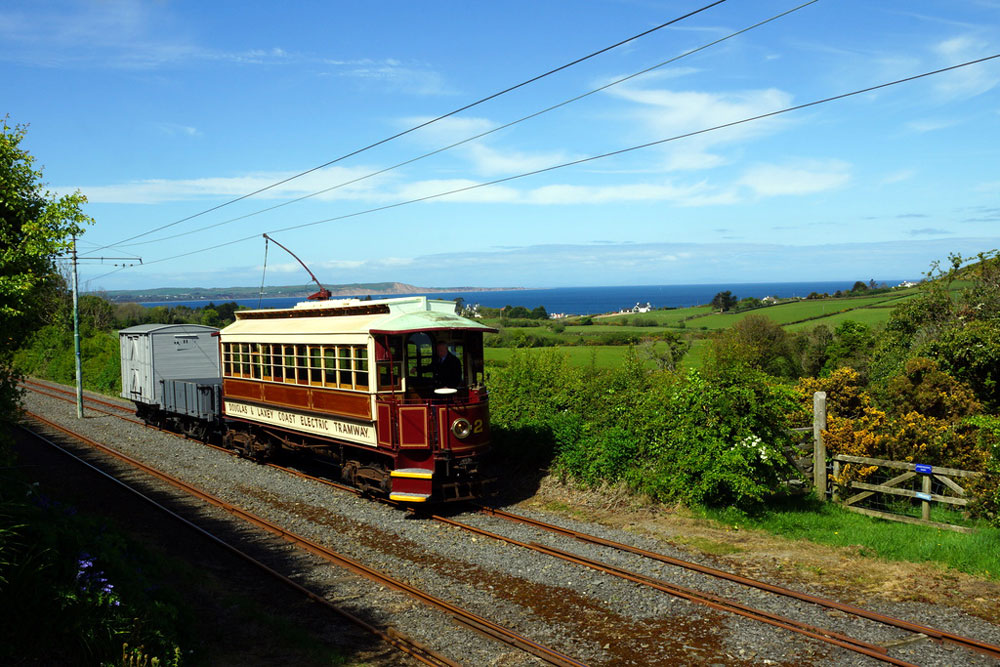
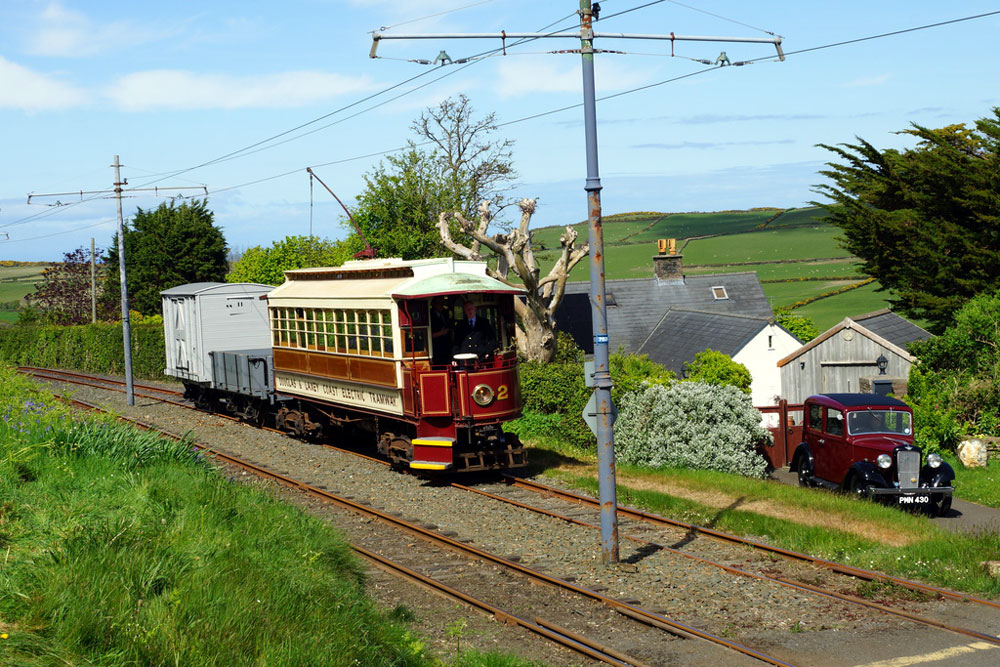
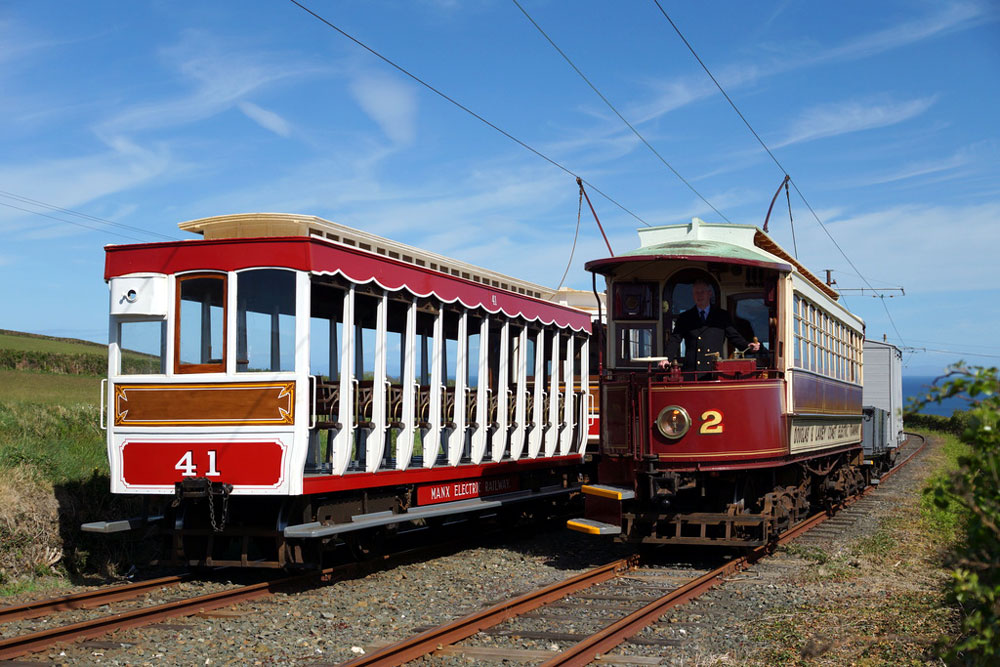
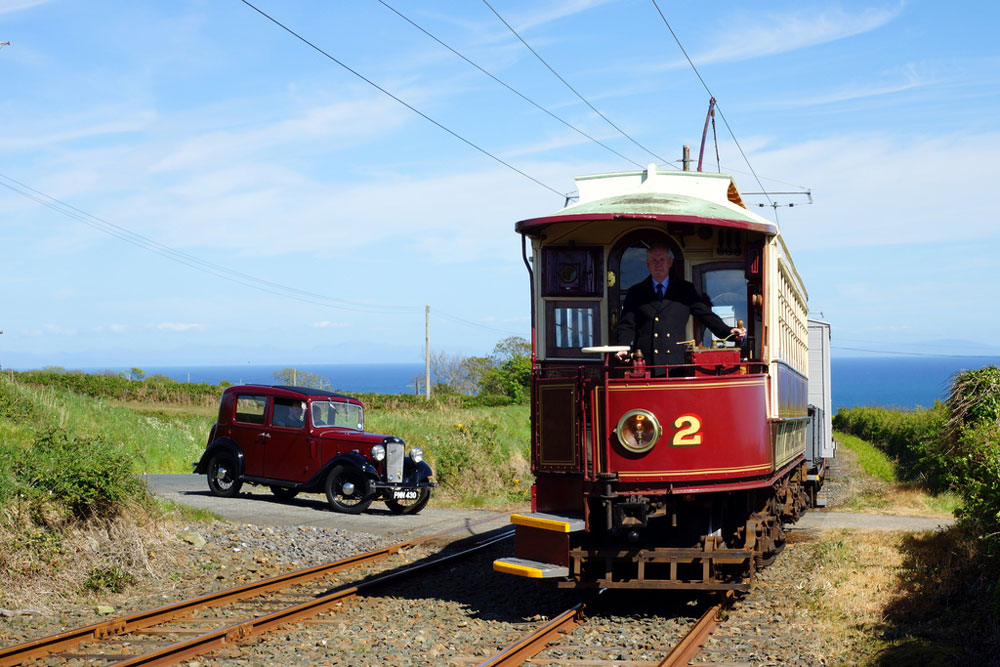
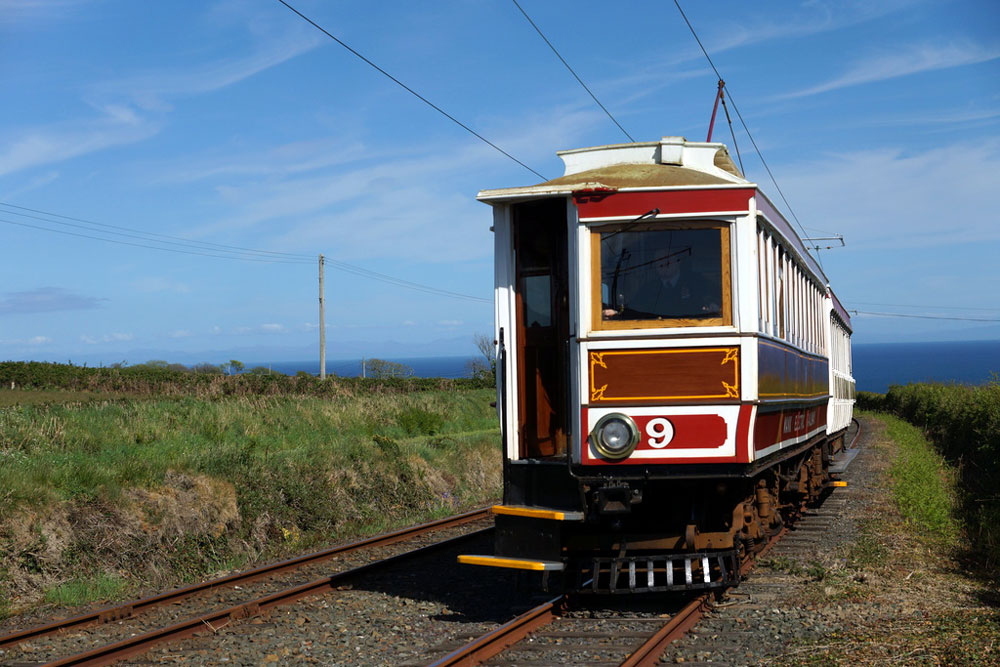
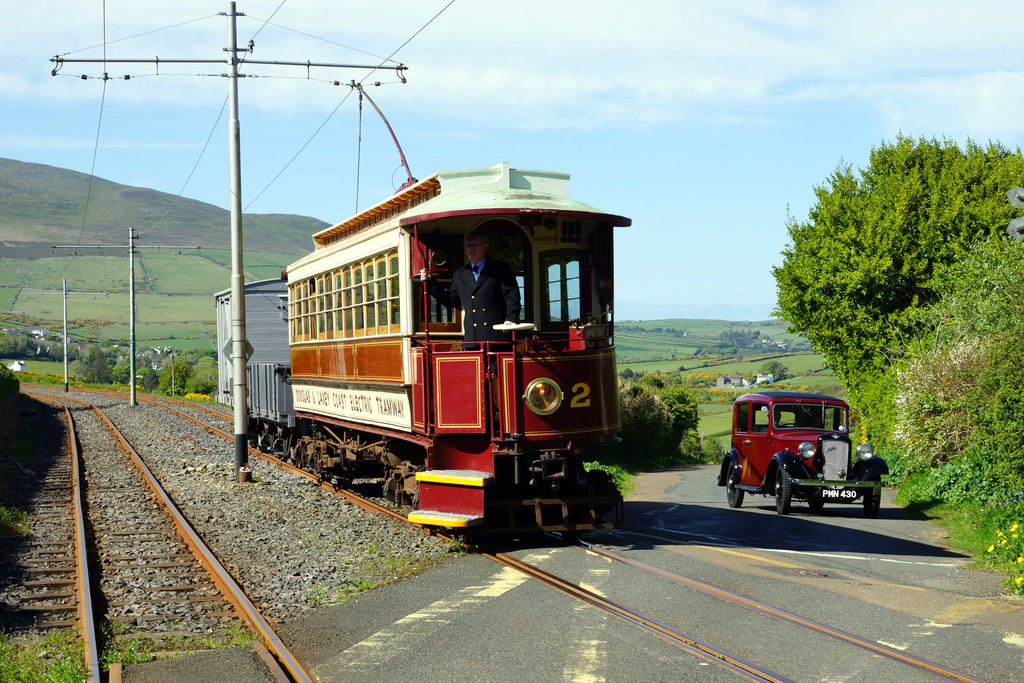
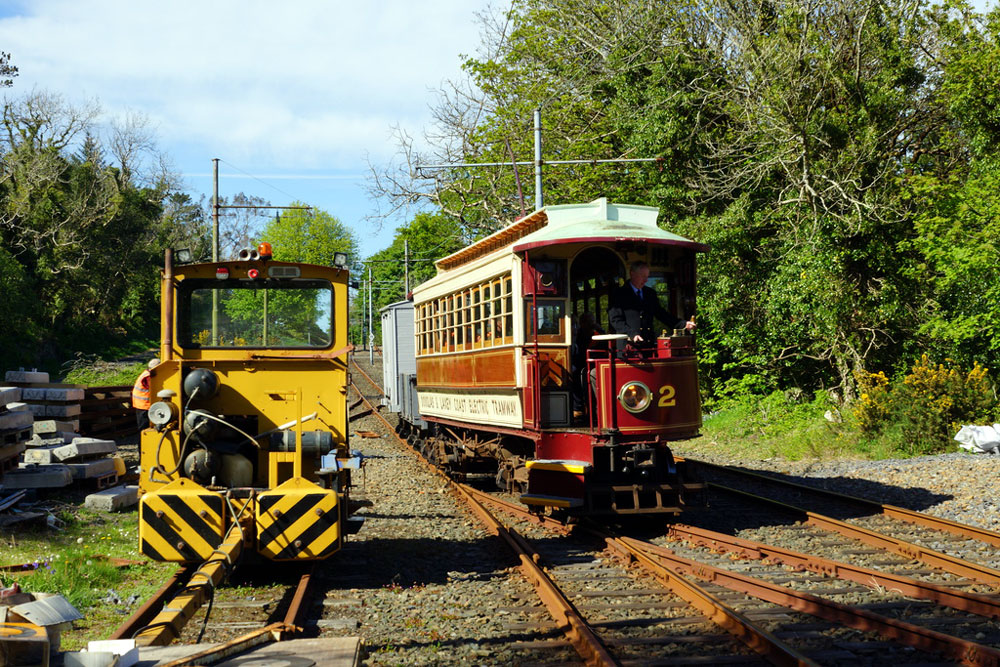
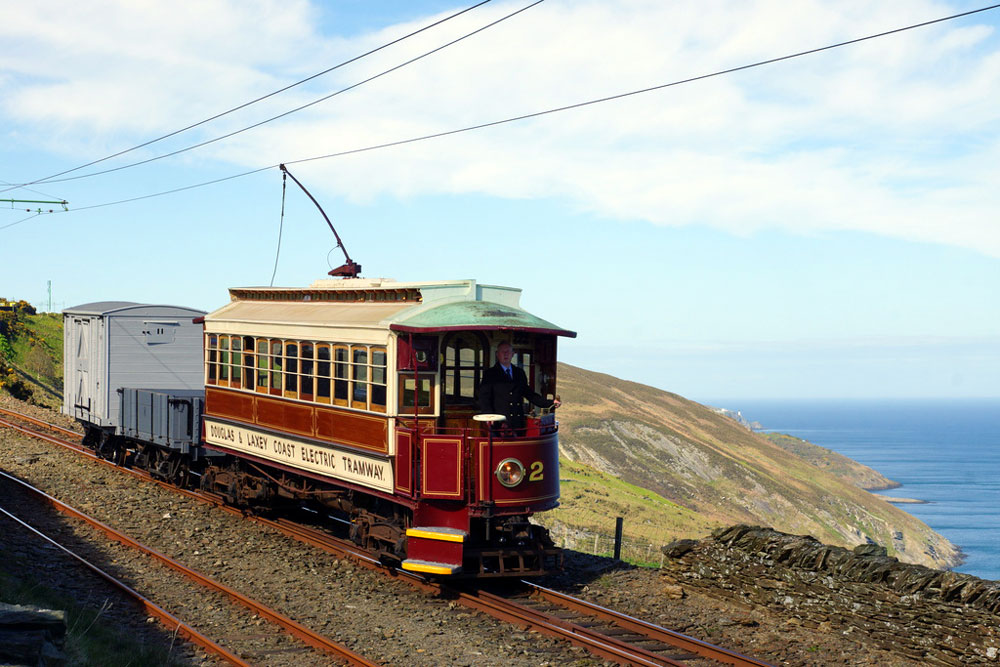
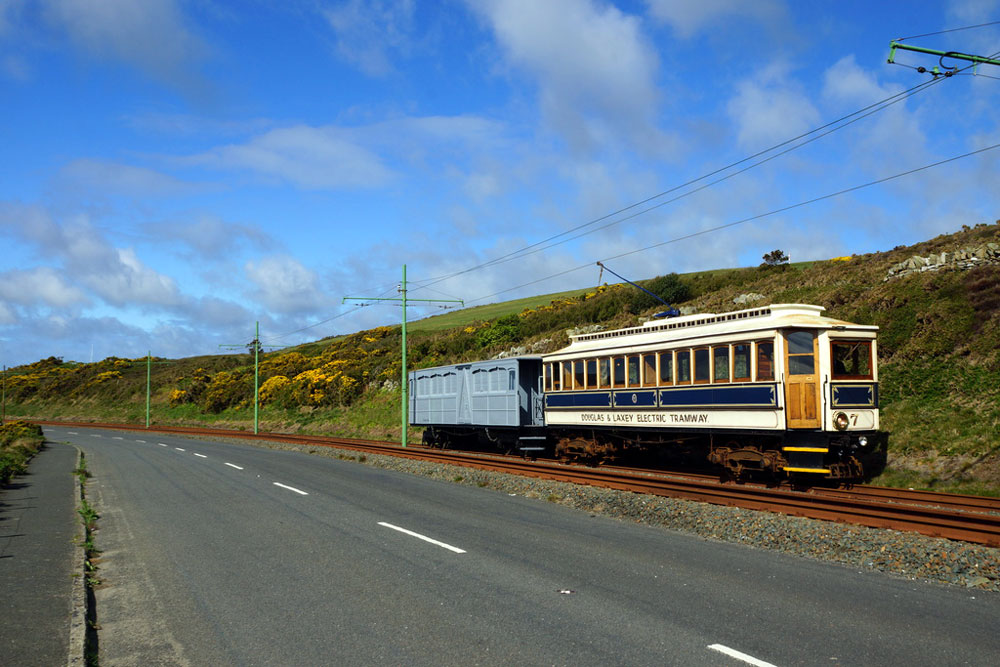
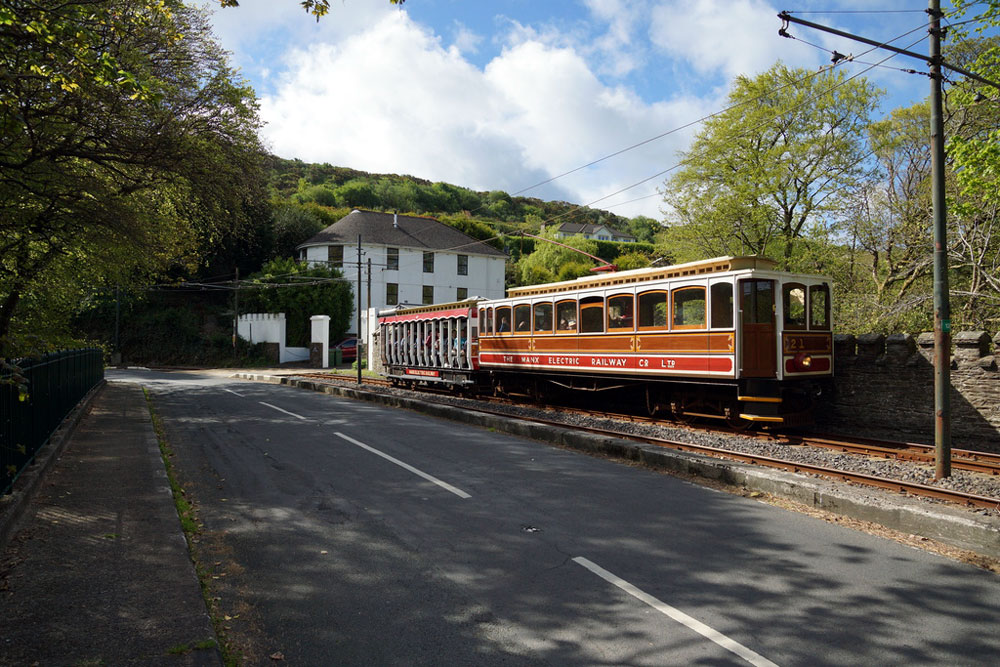
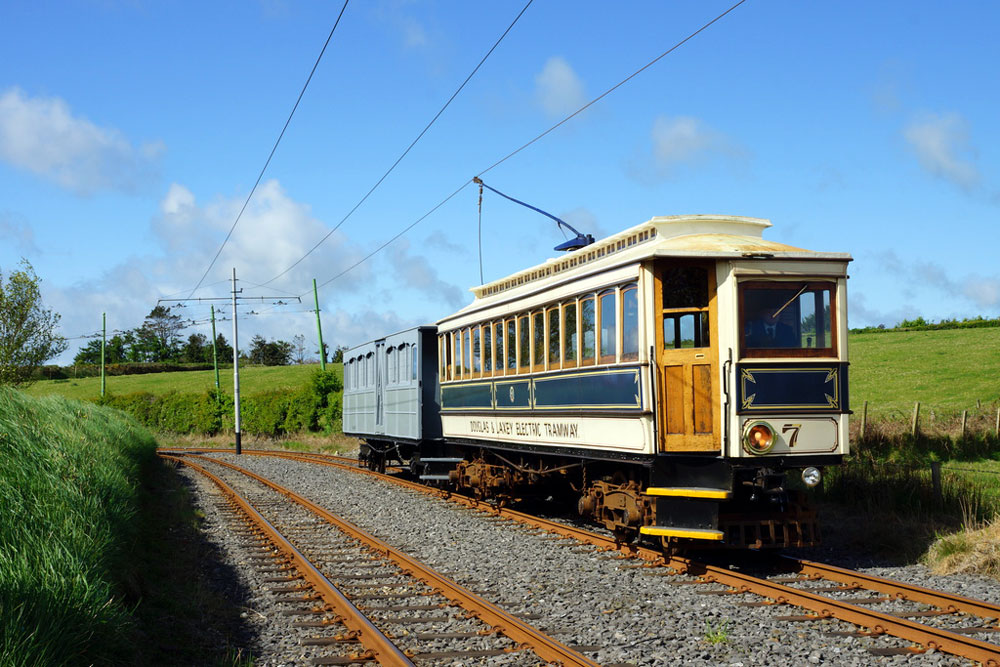
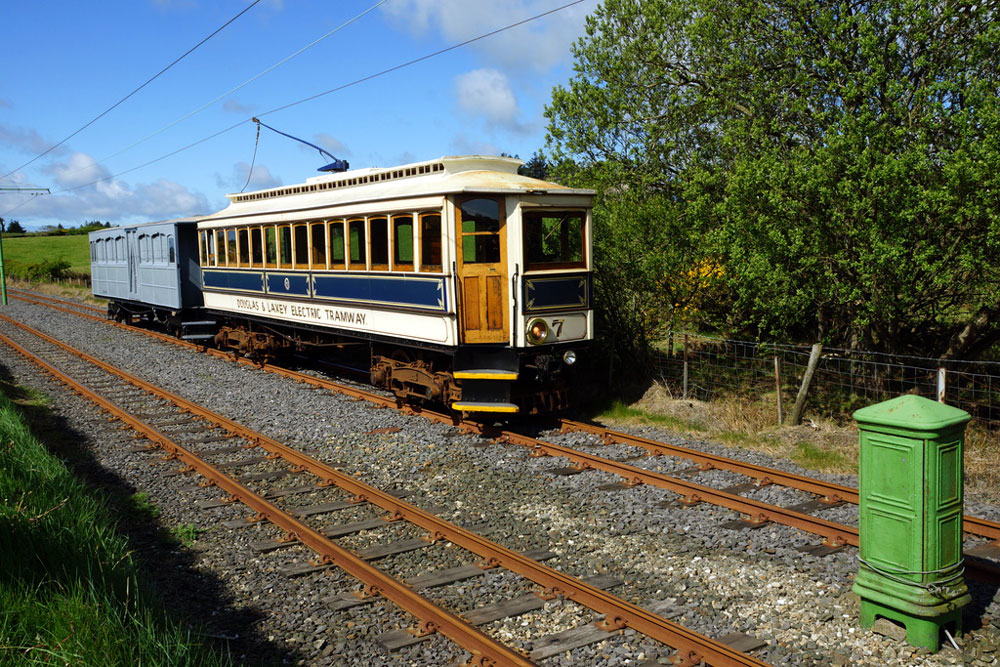
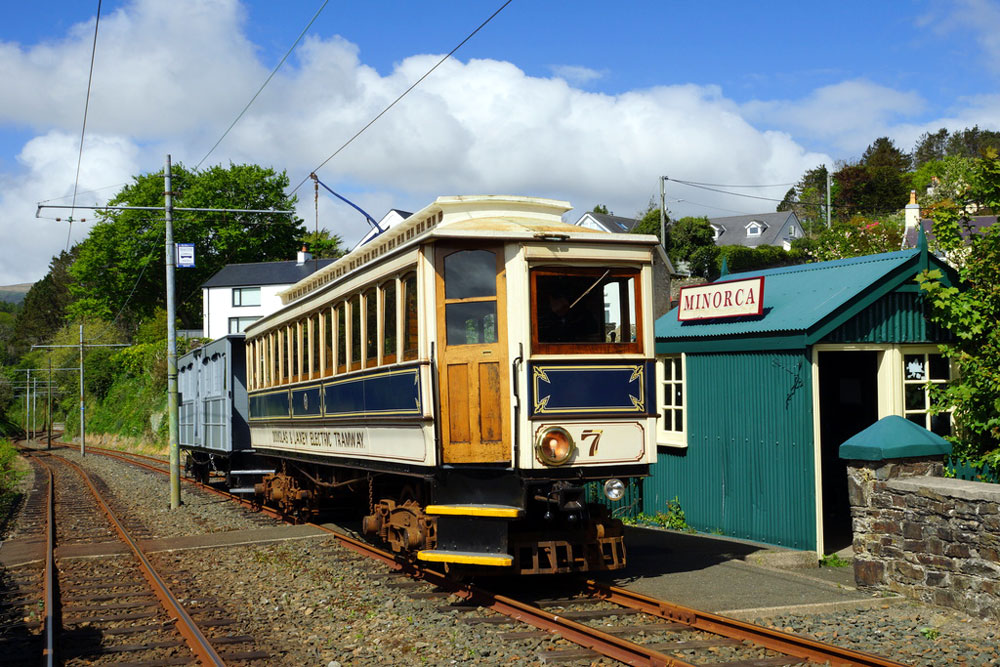
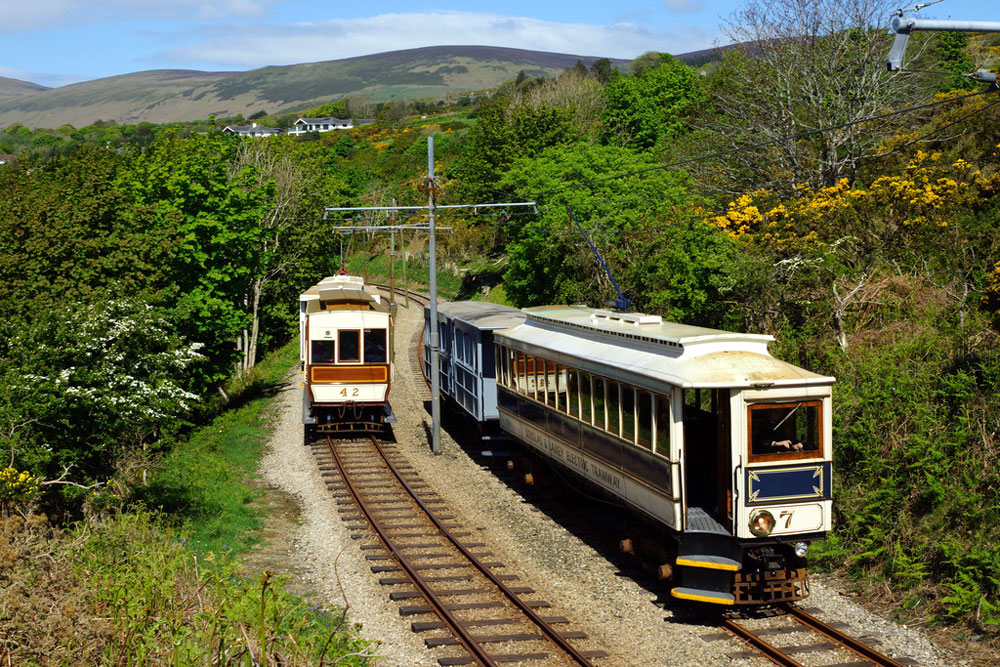
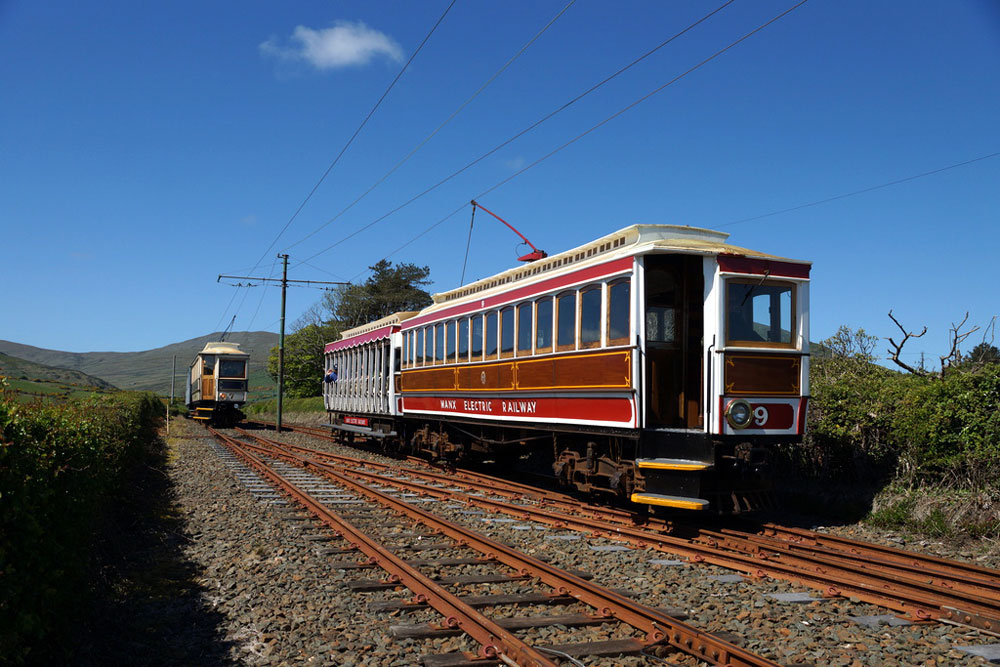
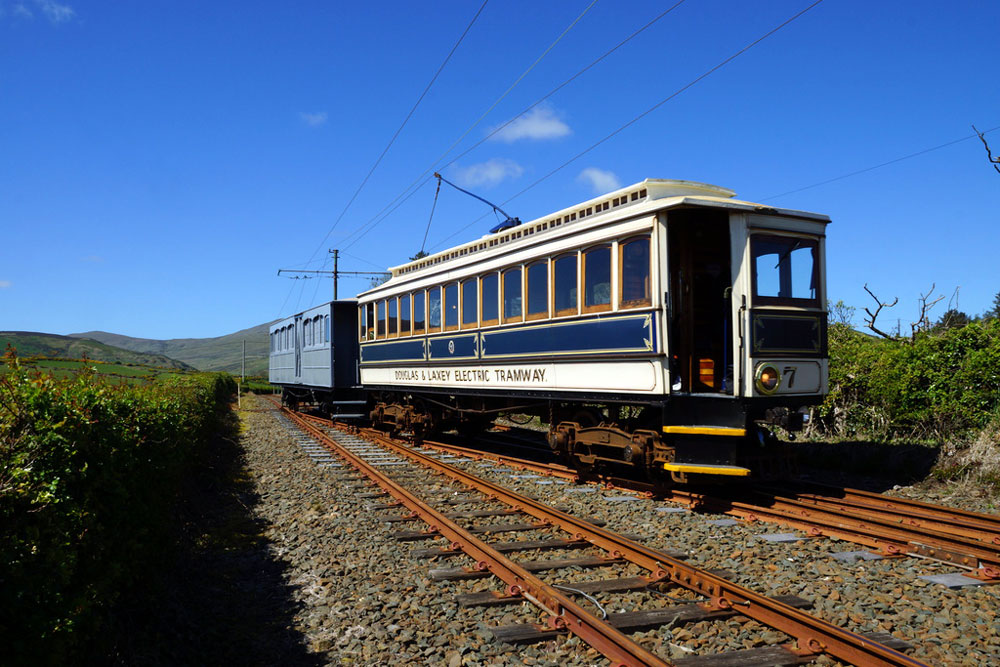
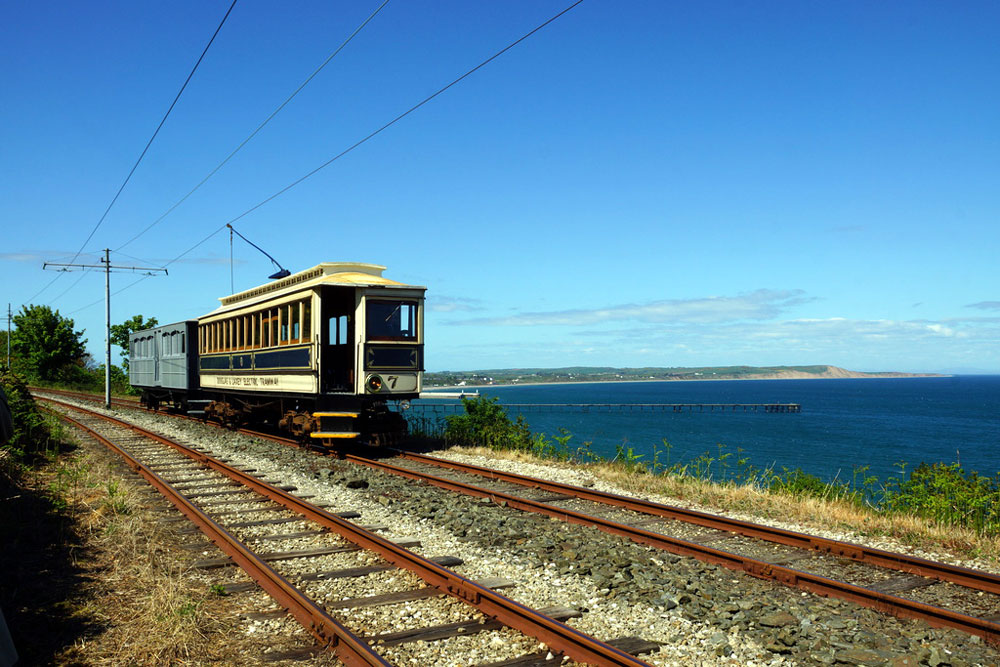
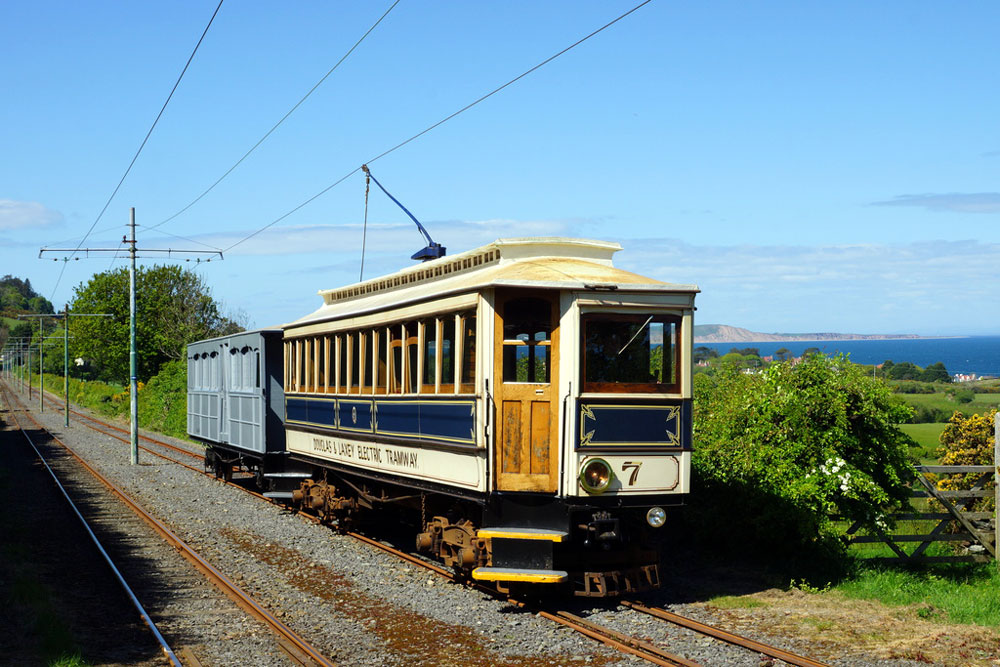
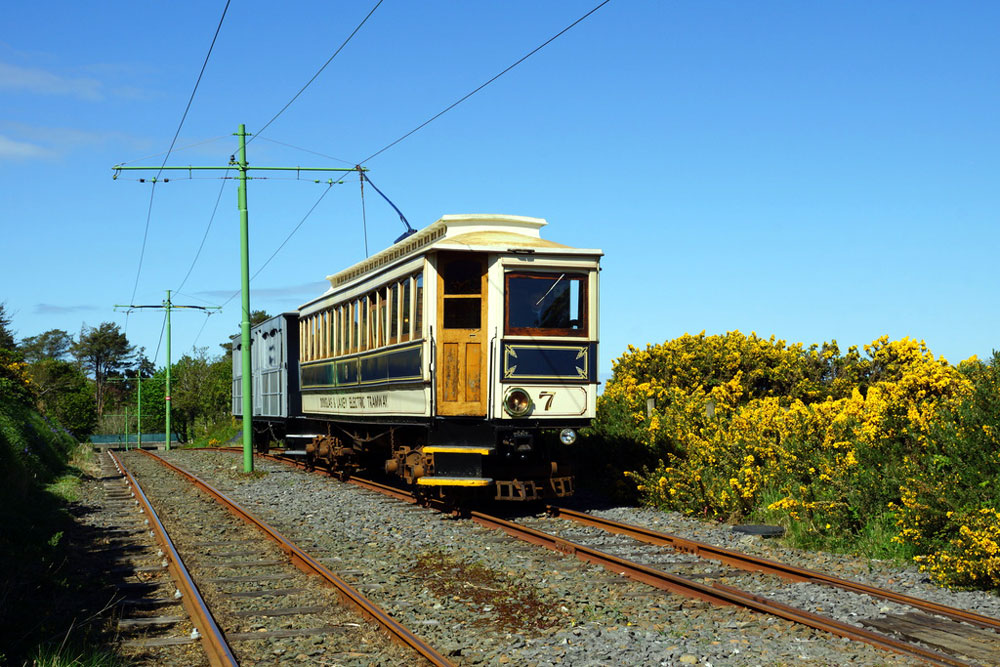
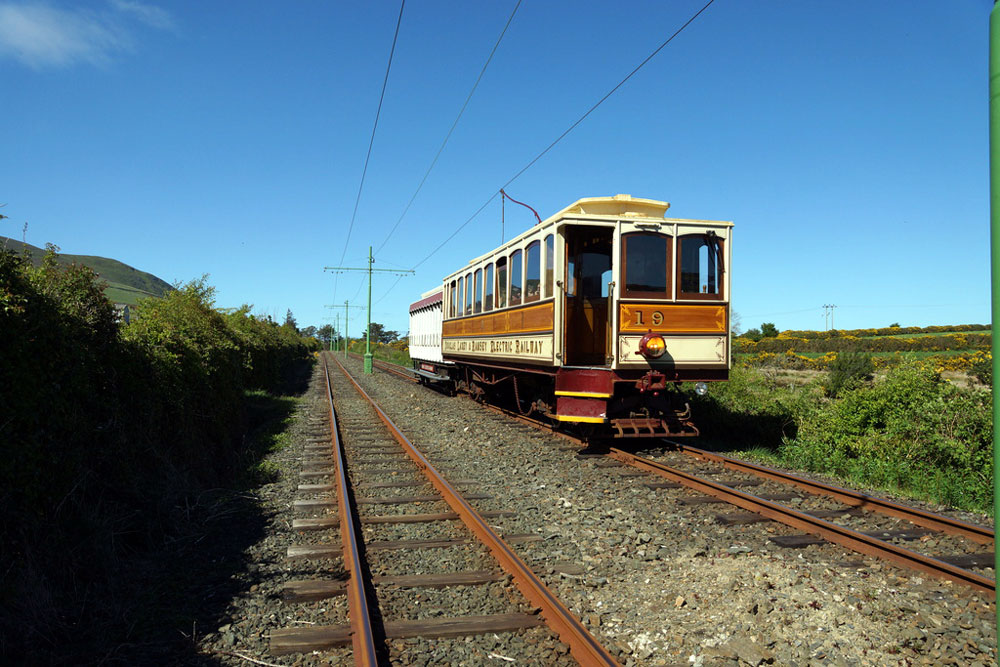
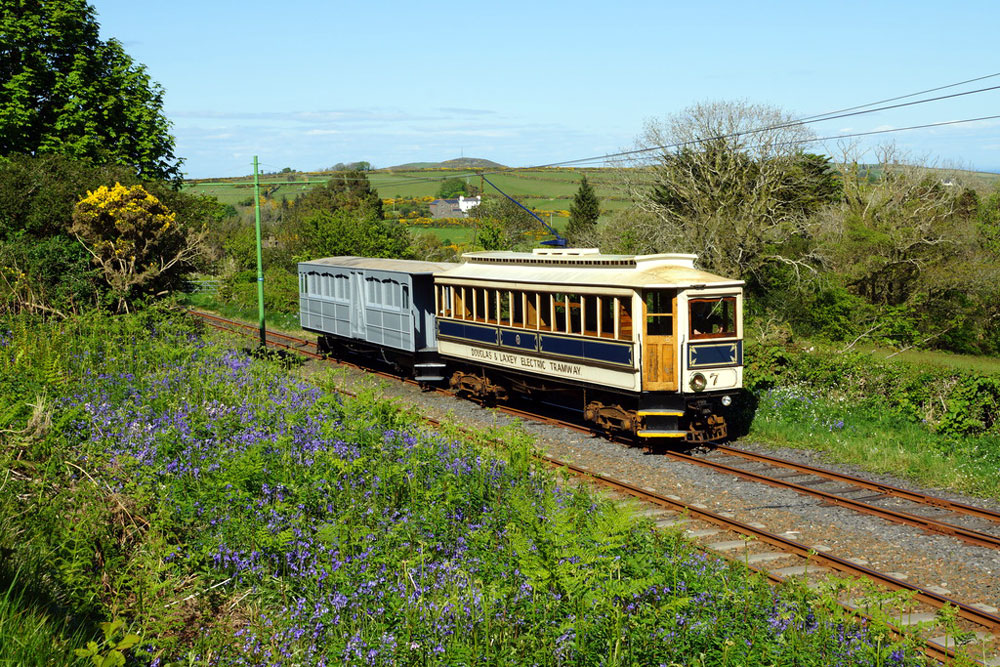
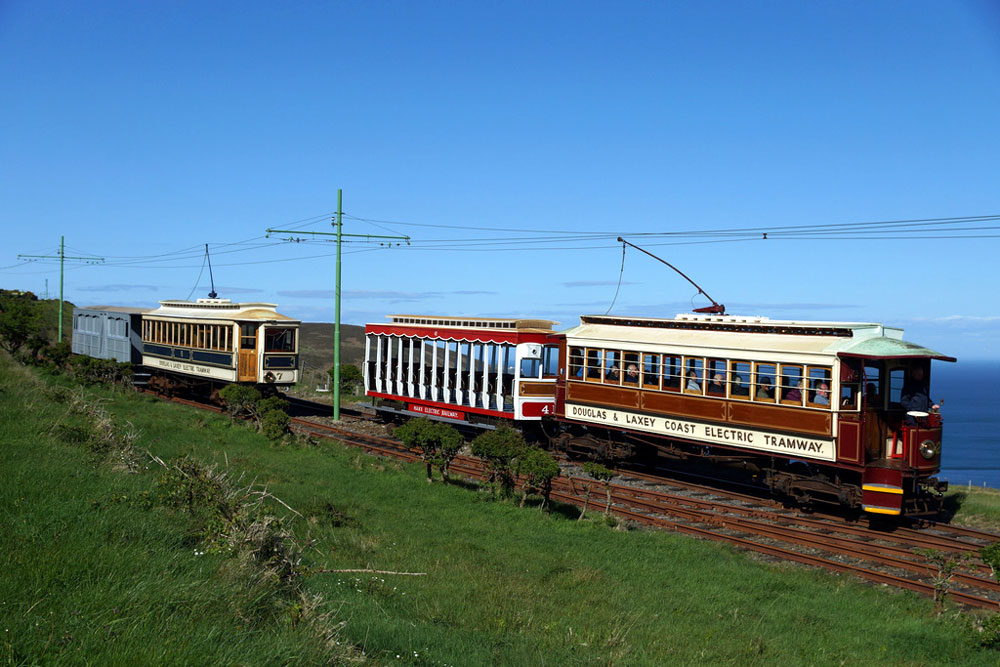
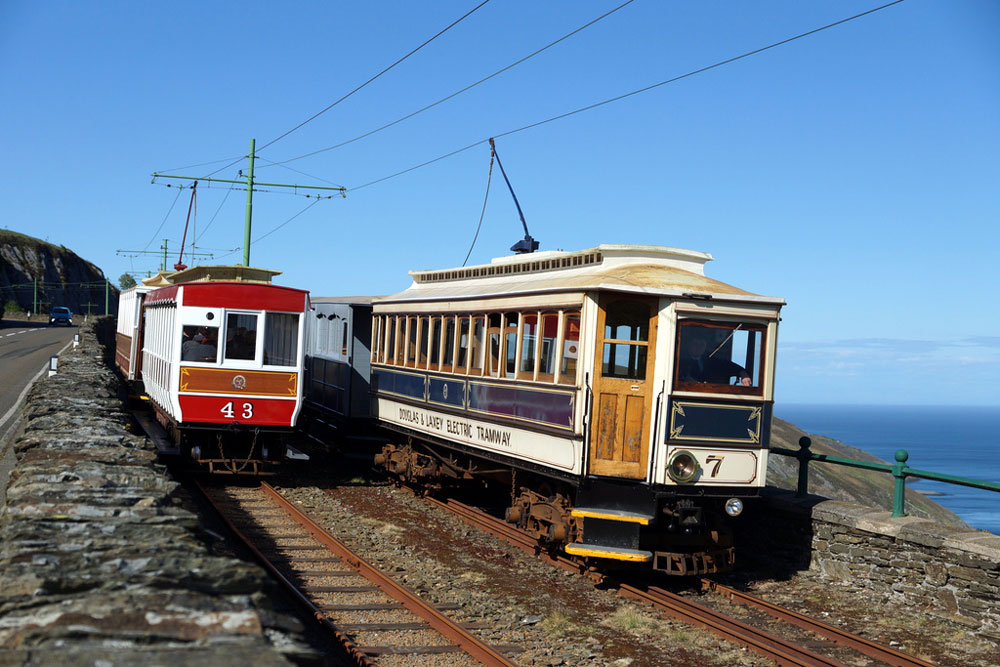
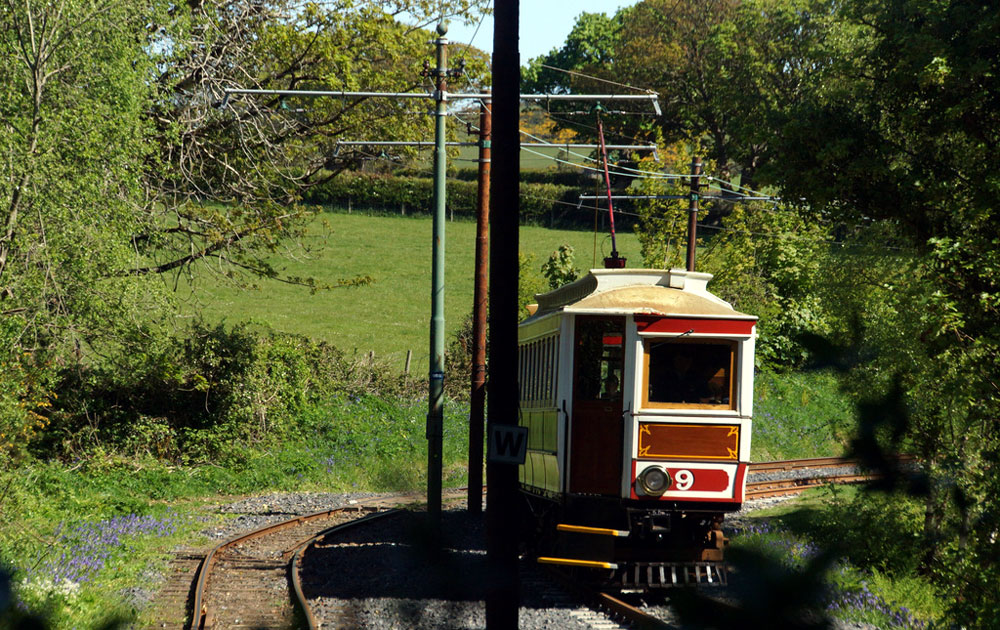
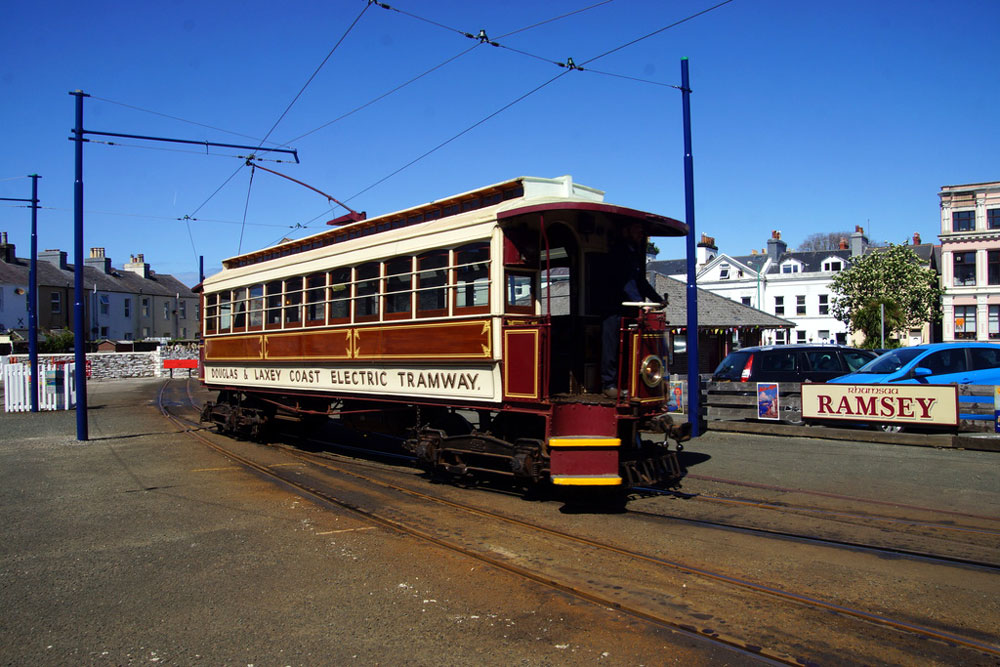
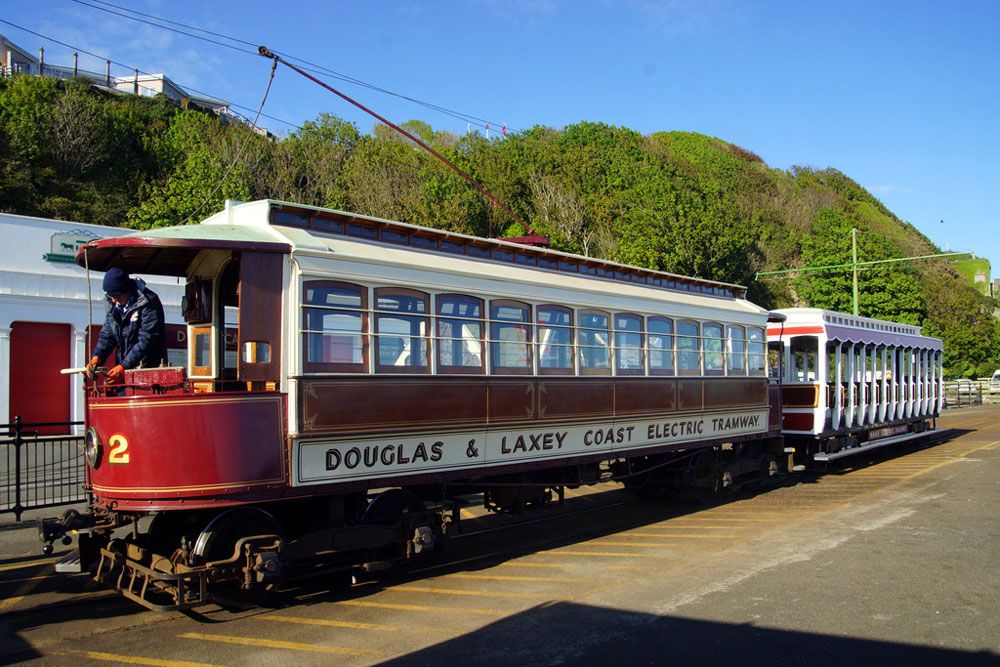
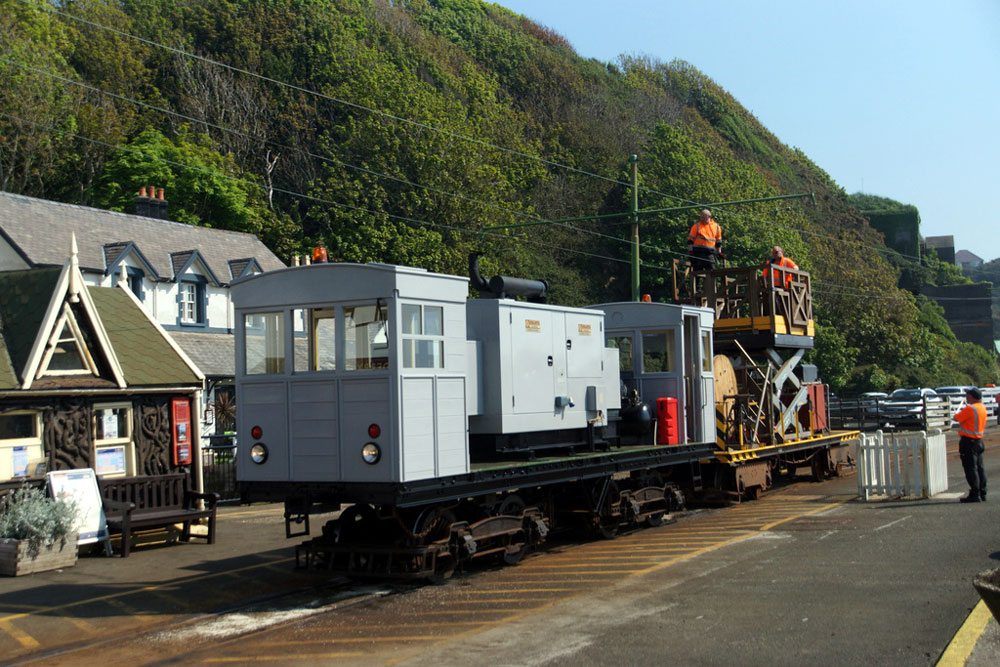
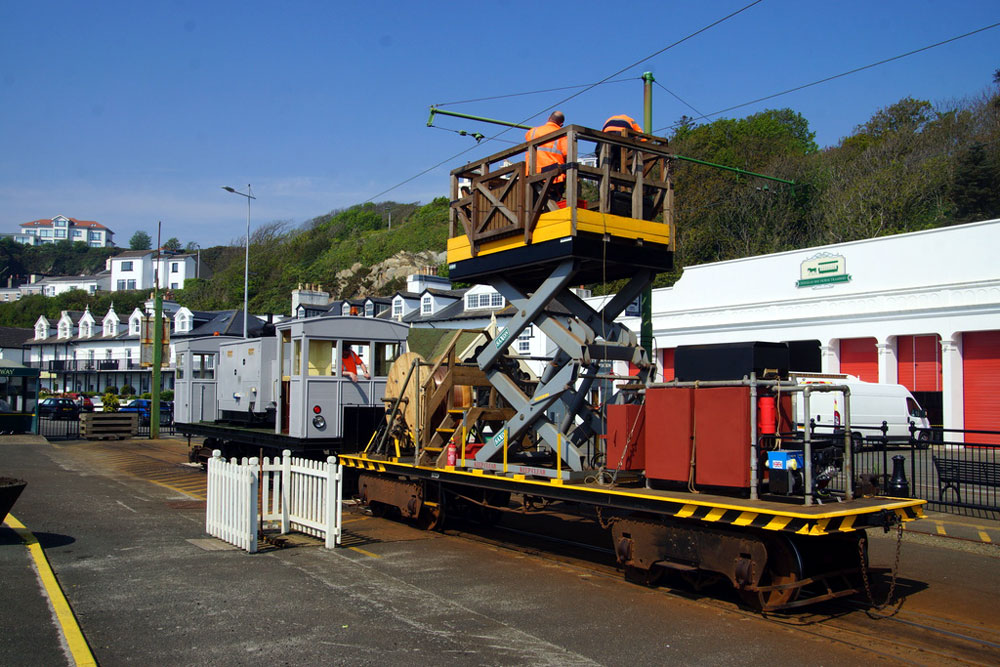
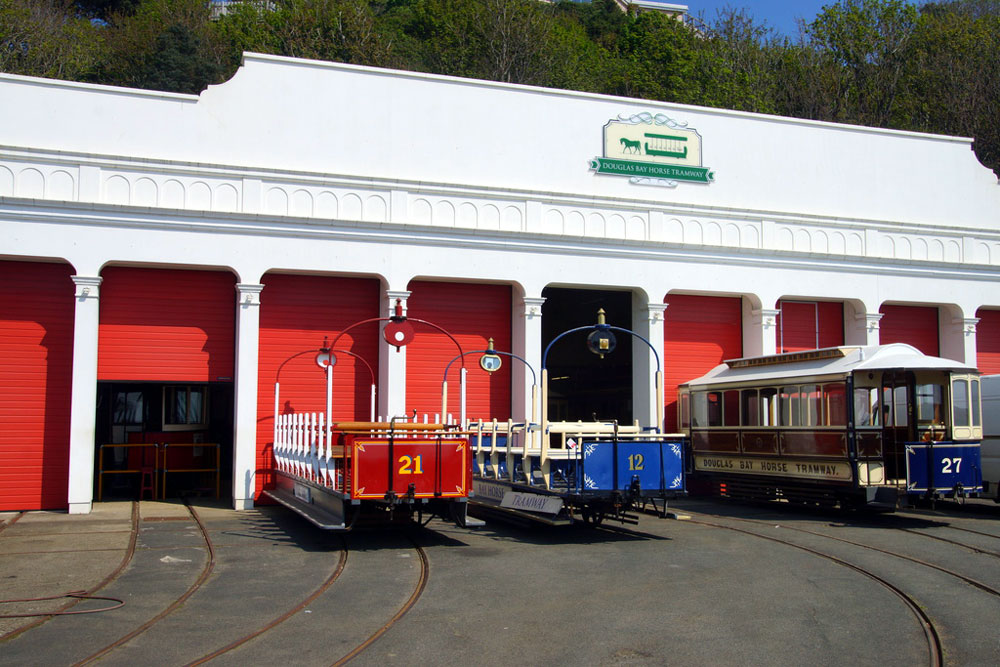
The first of these charters saw the return to service of Van 11. Last operating in 1997 this goods vehicle has recently been fully restored by the Laxey and Lonan Heritage Trust and has now returned to action. For the charter - on 2nd May 2025 - 11 was joined by Wagon 8 with the pair hauled on the day by 2. We see the trio at various locations on the line, meeting up with friends as they go along. The following day saw the second of the charters as Tunnel Car 7 was partnered by Freight Trailer 26. This unique coloured combination (blue/white and grey) is also seen at various photo stops as the charter progresses. That's not all we see in this collection though as there are also some general photos of the Manx Electric Railway in spring action and the photographer doesn't forget either the Douglas Bay Horse Tramway or Snaefell Mountain Railway, including some stunning shots of the latter up at the Summit. Sit back, relax and just enjoy stunning phhotography from the Isle of Man! |
Photographer: David Mee Photographs were taken between Thursday 1st and Sunday 4th May 2025. |