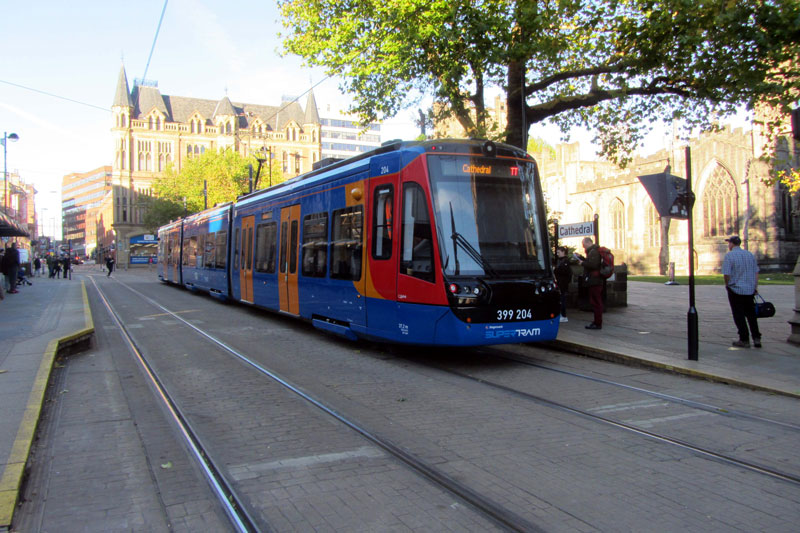
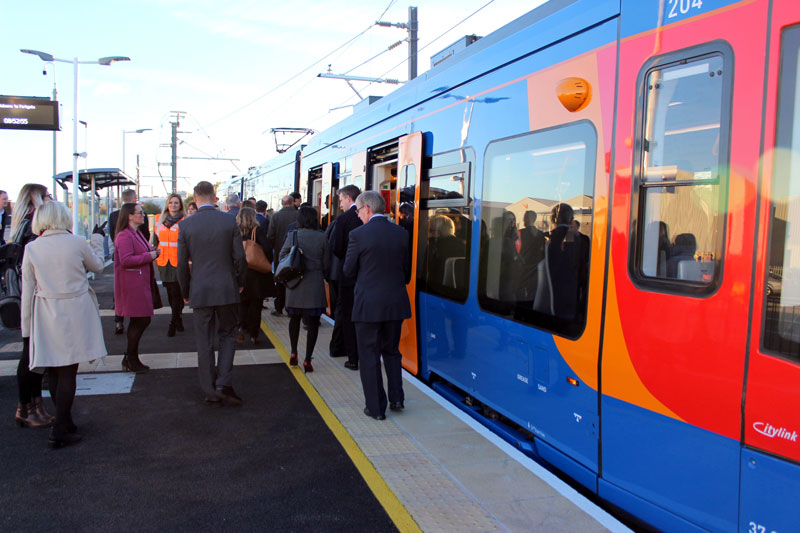
399 204
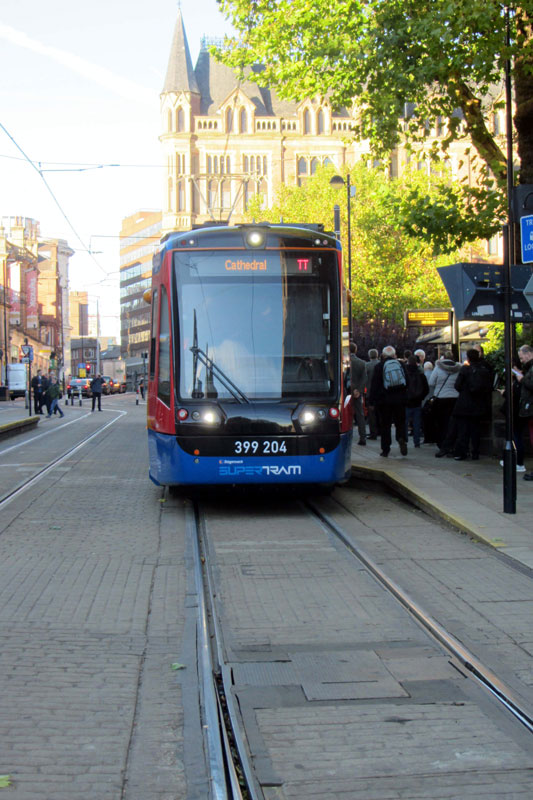
399 204
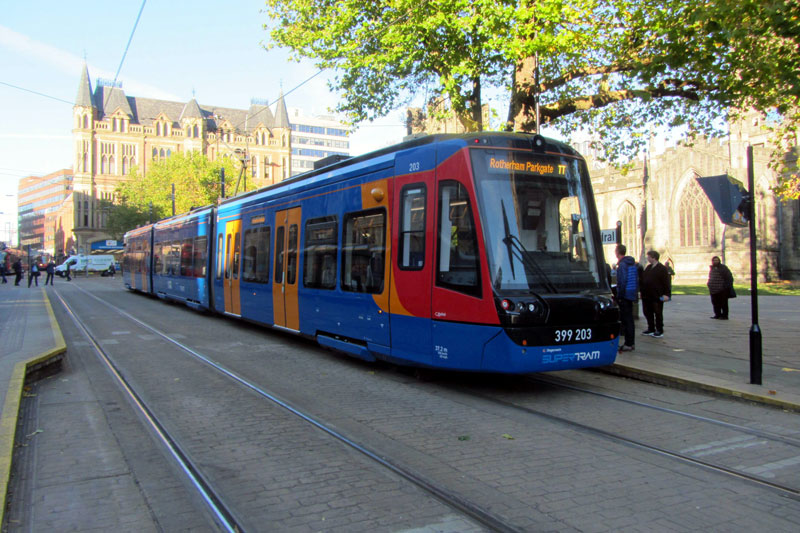
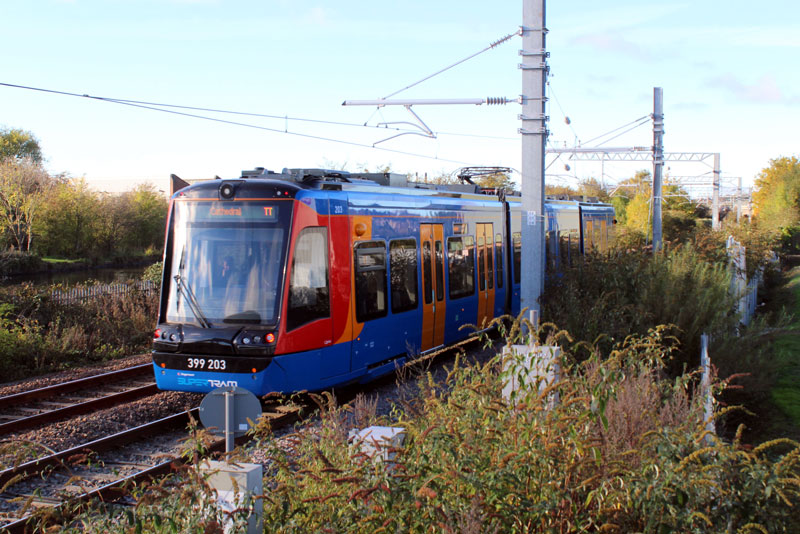
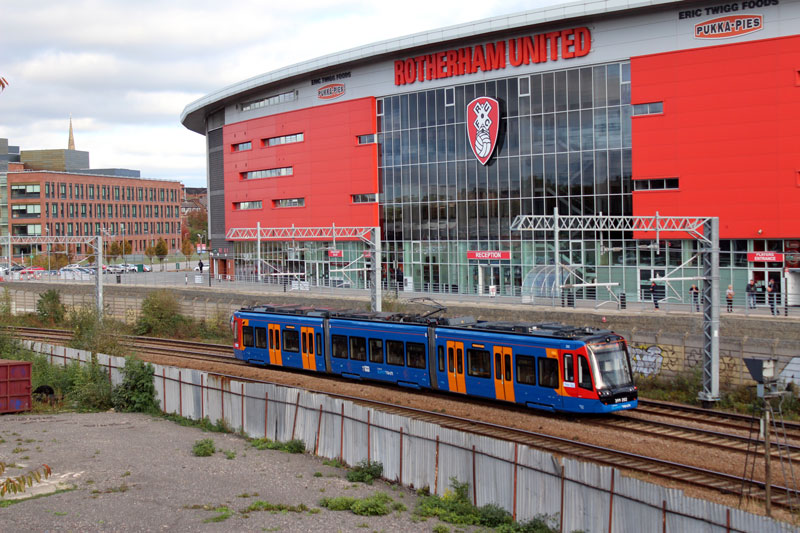
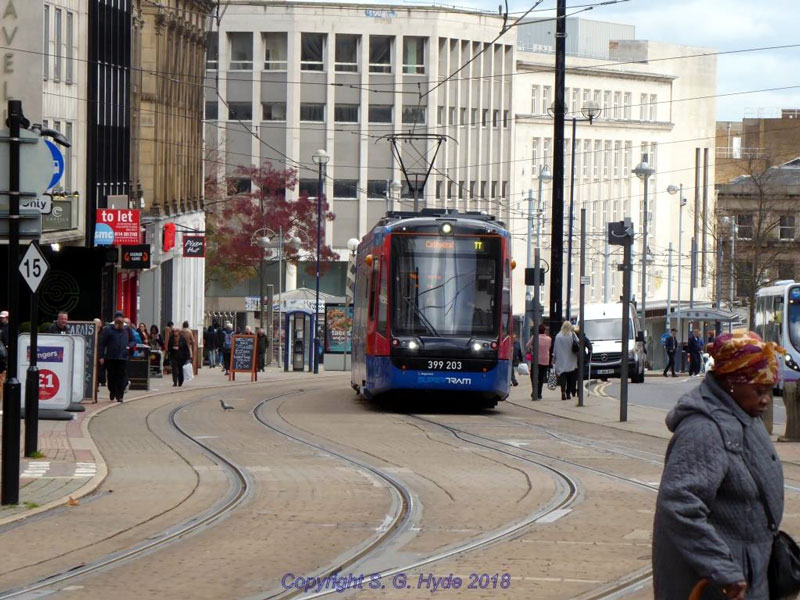
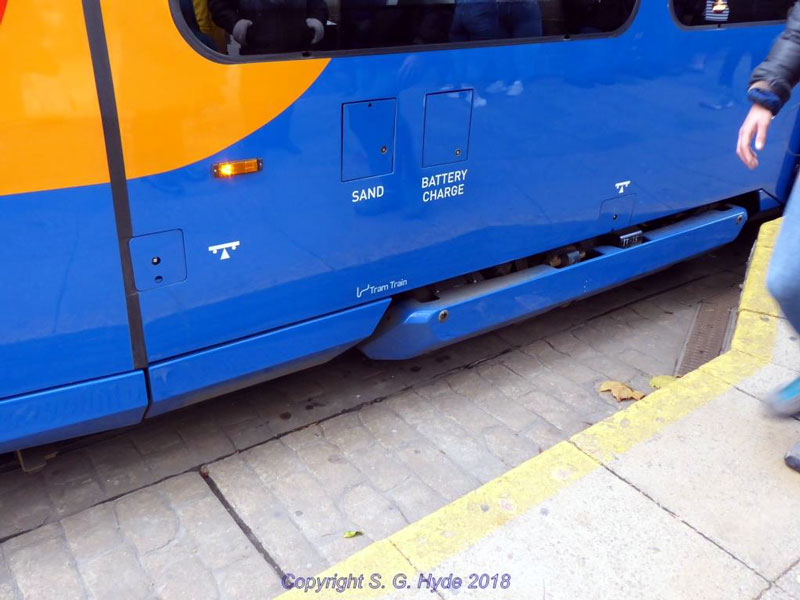
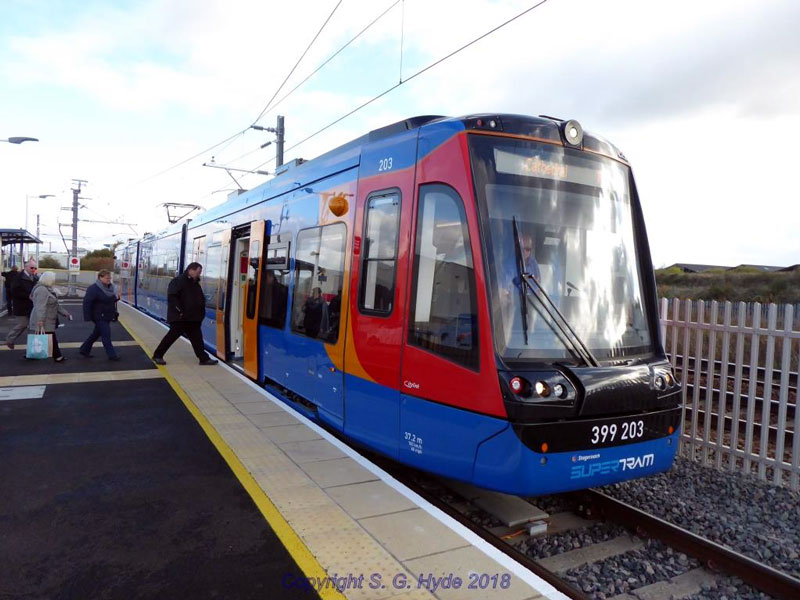
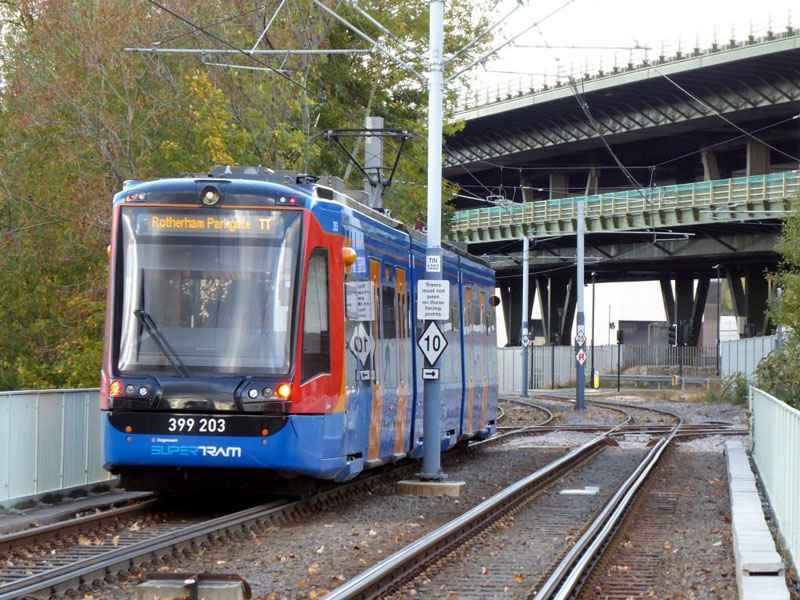
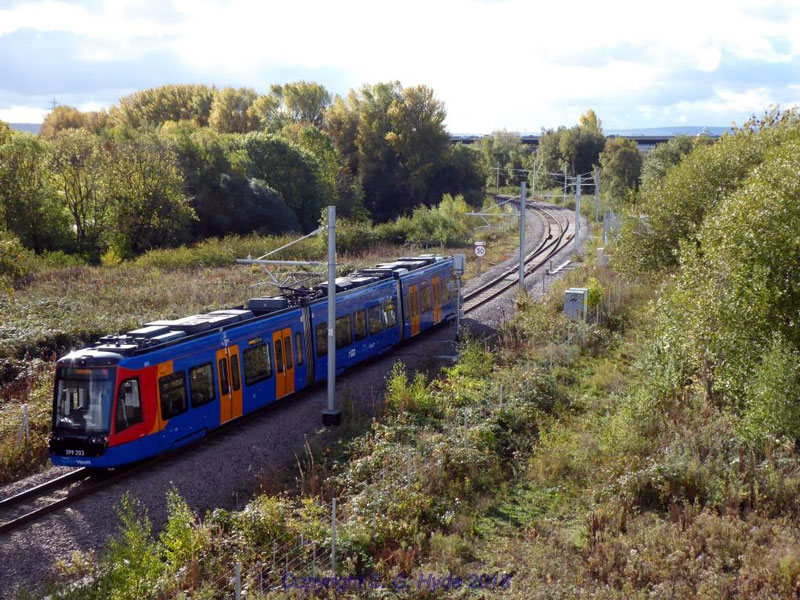
399 203
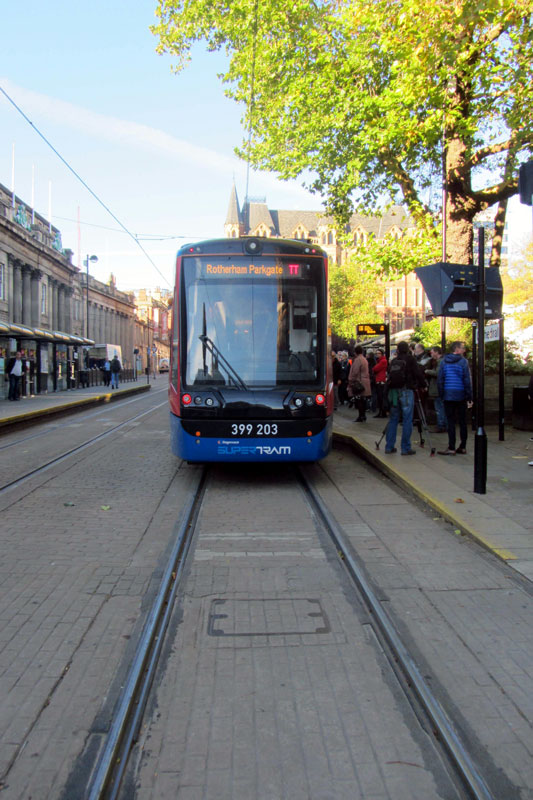
399 203
 399 204 |
 399 203 |
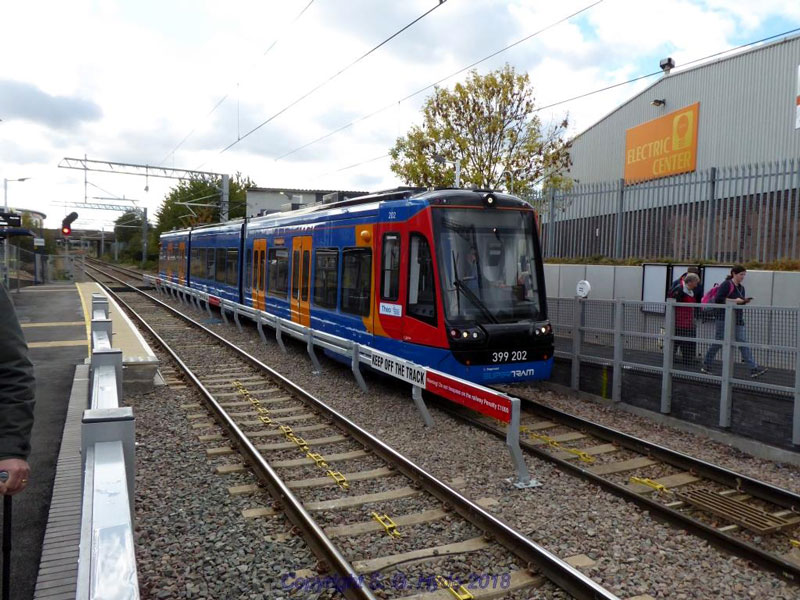
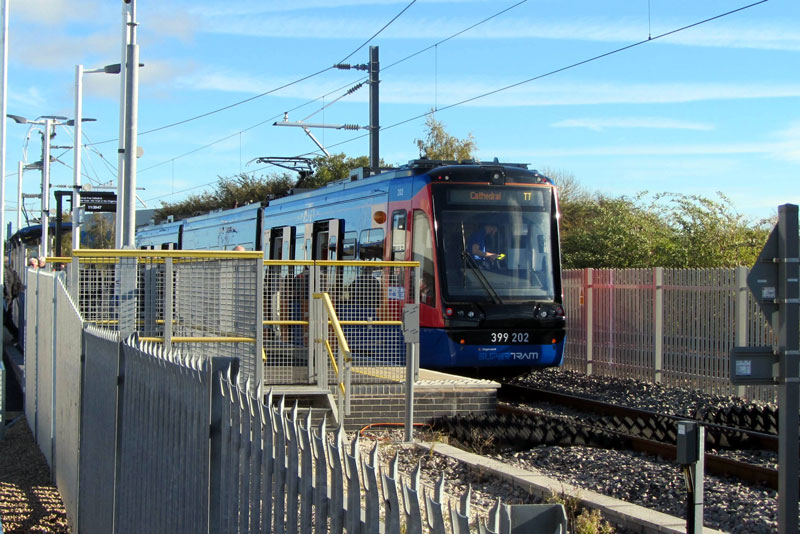 399 202 |
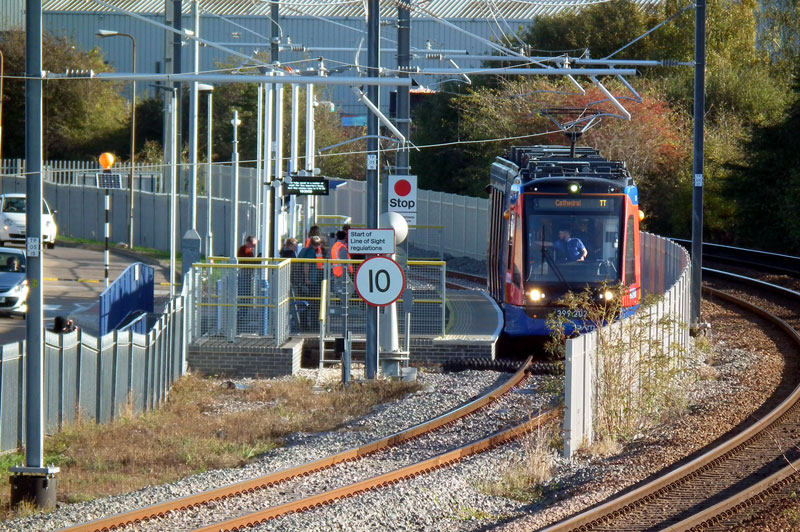 399 202 |
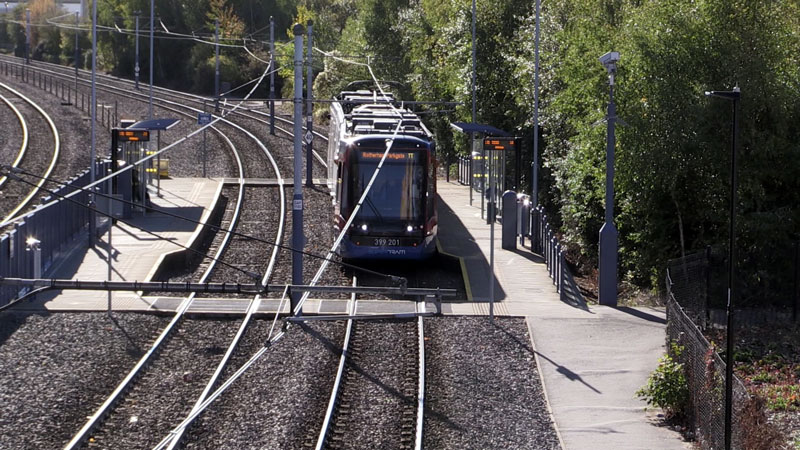
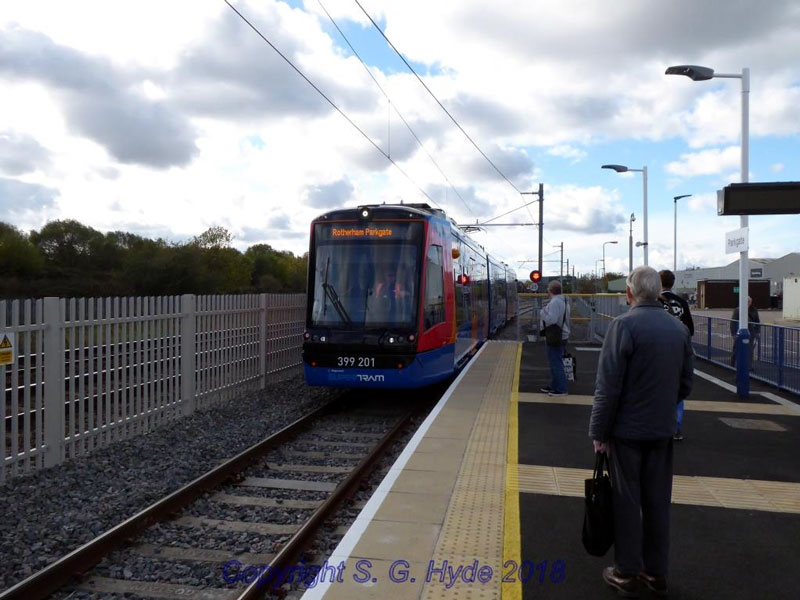
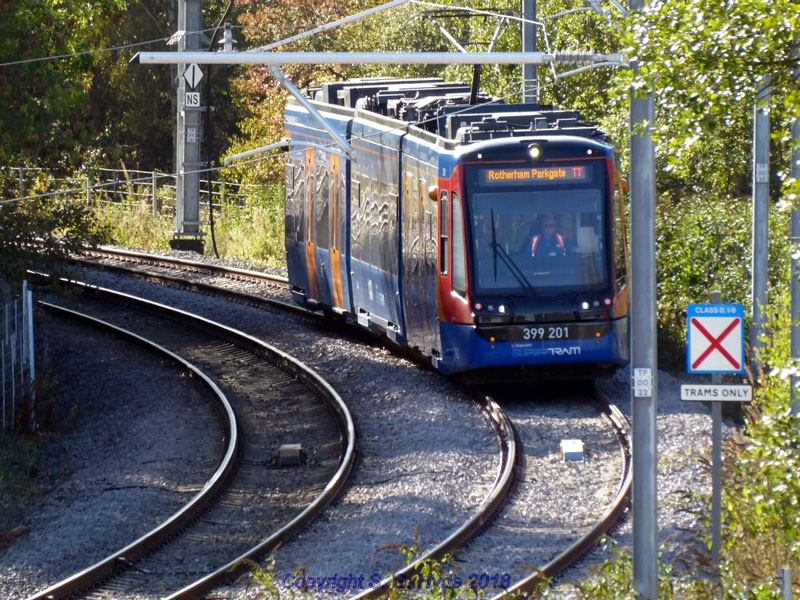
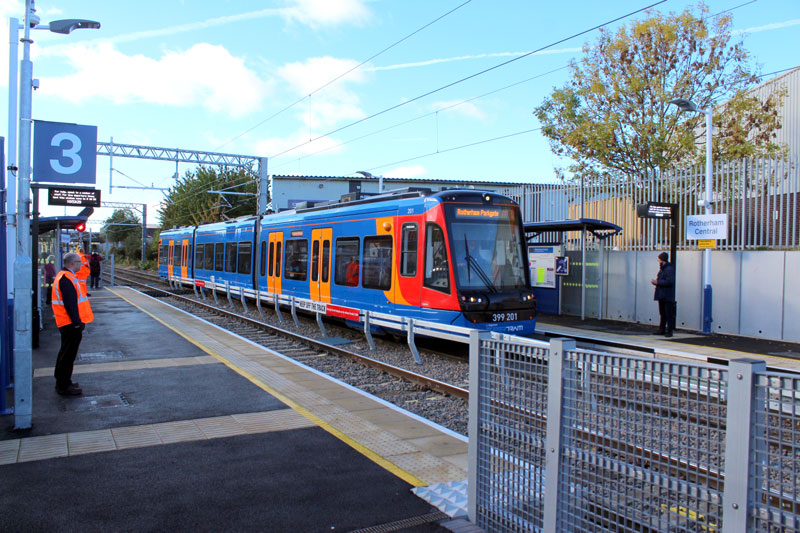 399 201 |
 399 201 |
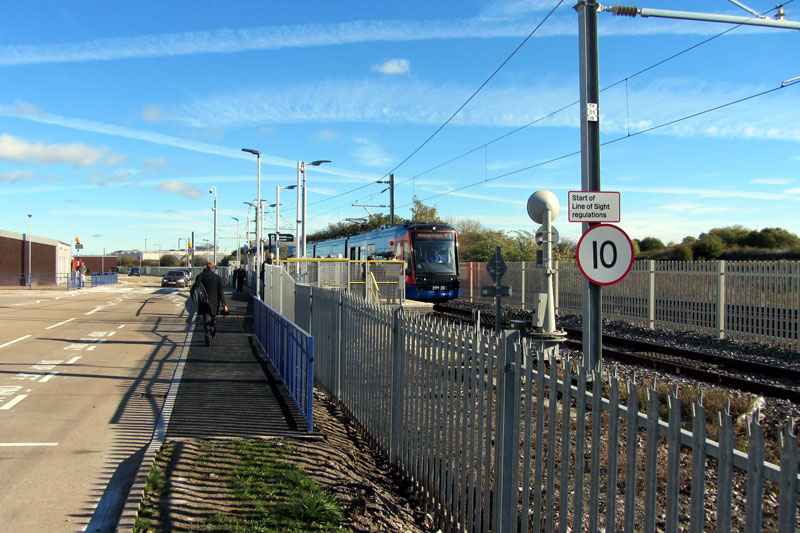
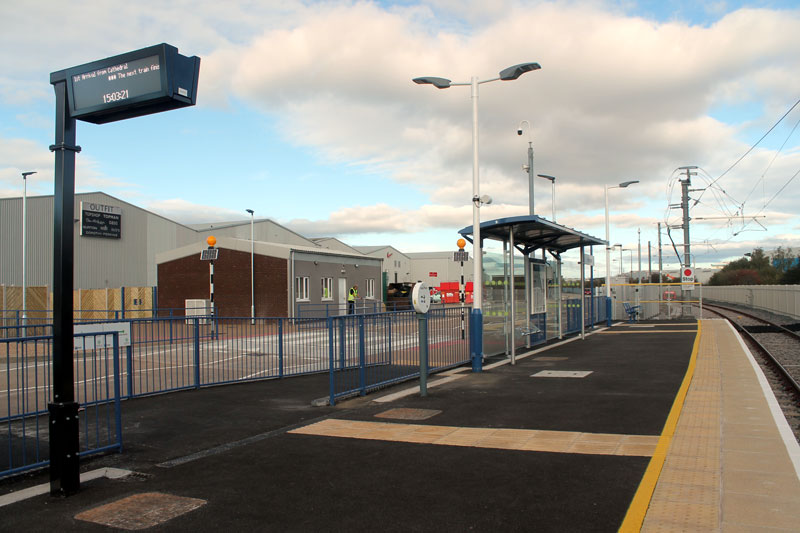
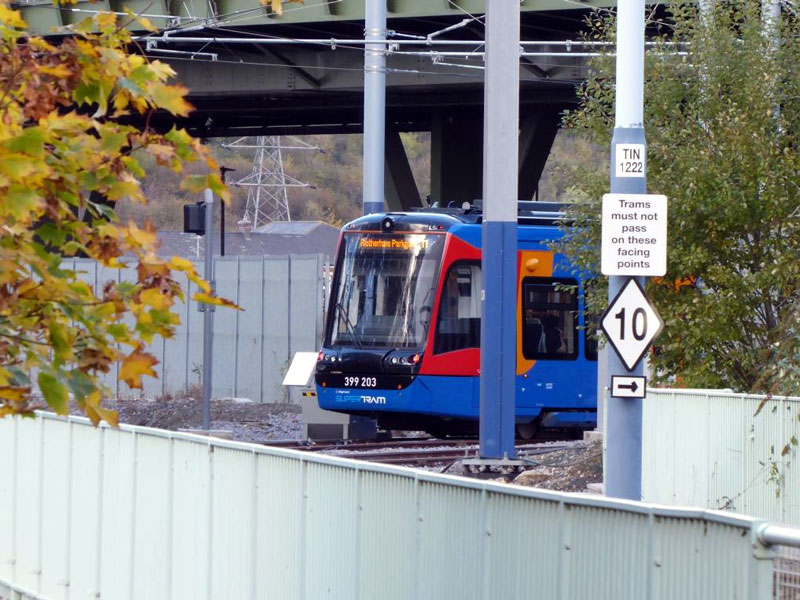
 Rotherham Parkgate |
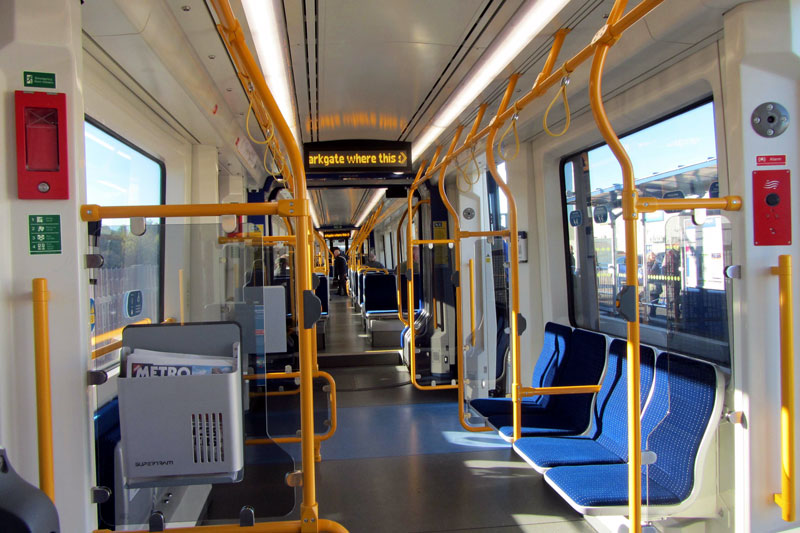 399 203 interior |
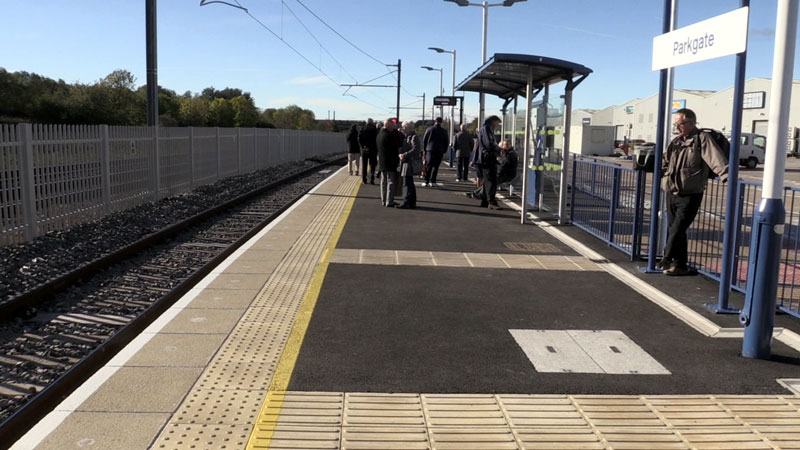 Rotherham Parkgate |
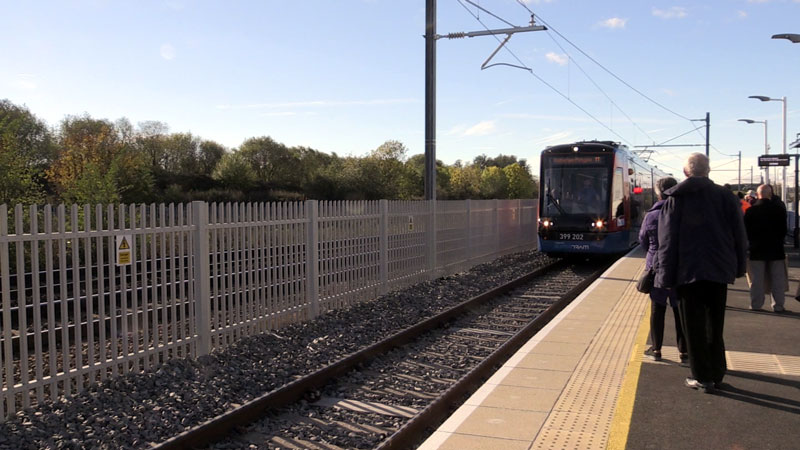 399 202 |
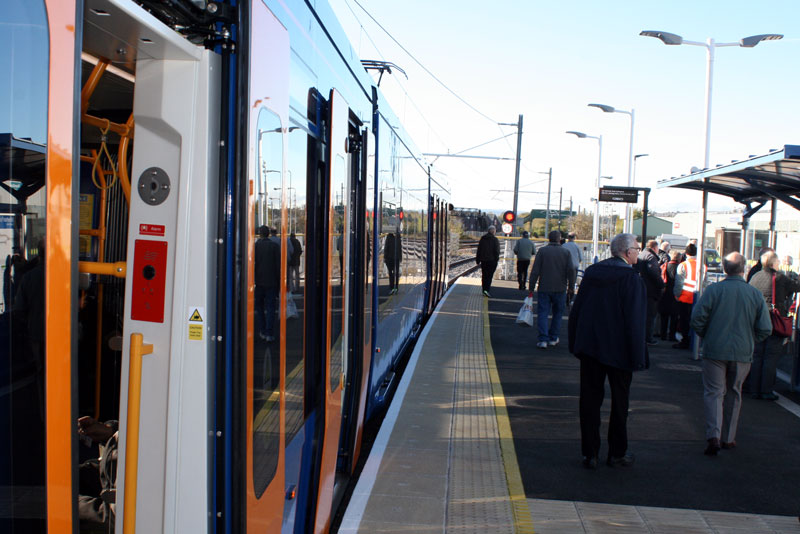
 Passengers boarding |
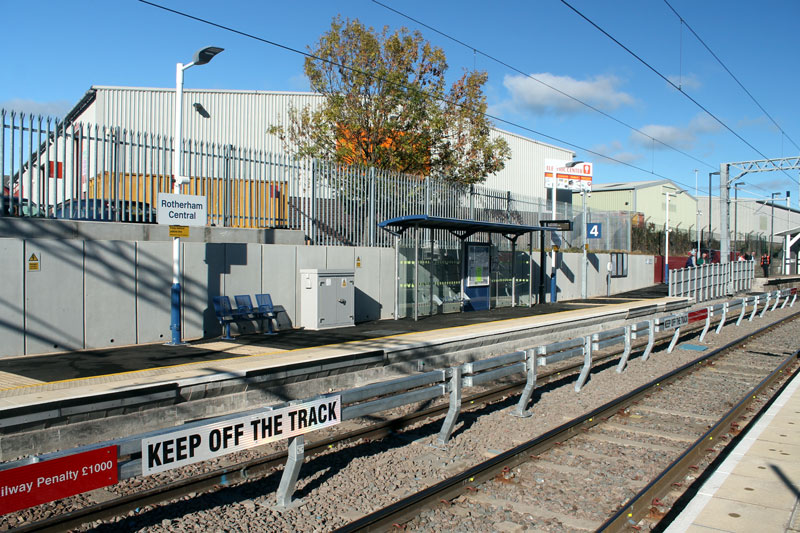 Rotherham Central |
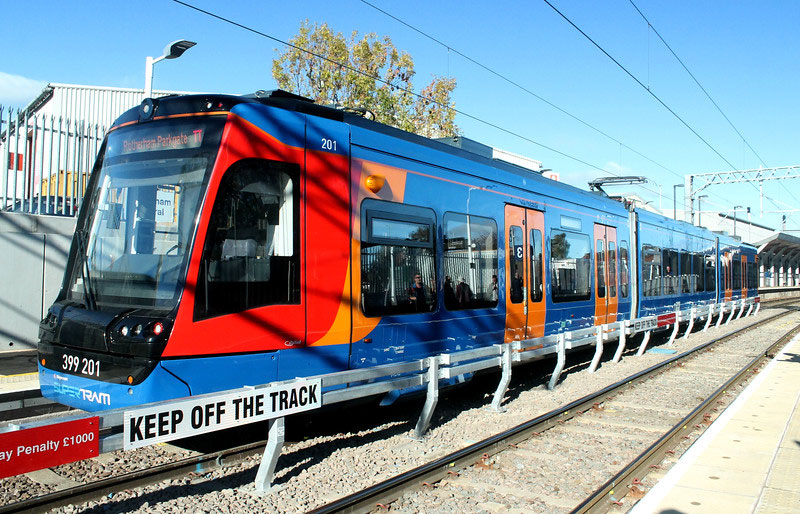 399 201 |
 399 201 |
 Rotherham Parkgate |
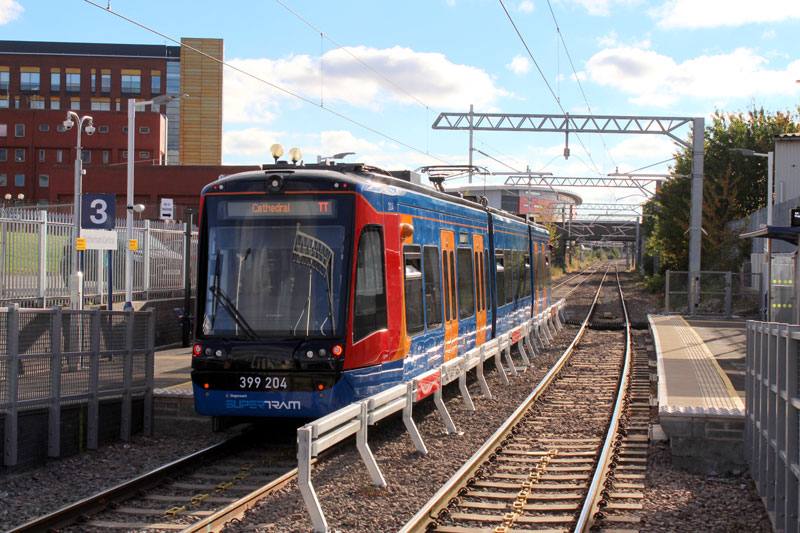 399 204 |
 399 202 |
 Rotherham Parkgate |
 399 203 & 120 |
 399 203 |
 399 203 |
 399 203 |
 399 201 |
 399 201 |
 399 202 |
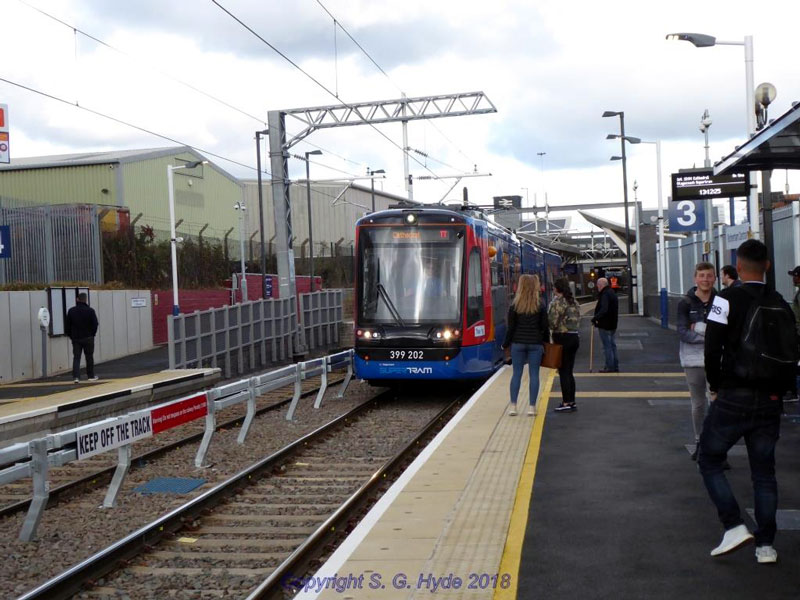 399 202 |
 399 203 |
 399 203 |
 399 203 |
 399 201 |
| Return to Photos Index |
|
This page was last updated on Sunday 4th November 2018 |
|
British Trams Online is run by enthusiasts for enthusiasts. All information contained on these pages is correct to the best of knowledge but mistakes will invetably occasionally appear and if this happens we will correct it as soon as possible. Opinions expressed on these pages are those of the writer(s) and do not necessarily reflect the opinion of British Trams Online or any organisations we are associated with. Cookies may be used on this website and if you continue reading the site without changing your settings we assume you are happy to receive these. If you have any comments, suggestions or corrections please email. |